Update: 6/28/19 - Many people have asked if the modification can be removed. Yes it can and it has now been removed. It takes about 30 minutes to install or uninstall. Here are some additional pictures without the modification. I'll post a new video once it is uploaded.
The plastic on the right is a temporary replacement. The original is in the mail on the way.
I am selling my Black Knight to make room for other machines. I love this machine. It has been in my personal collection for a long time. The game is currently listed on Craigslist, Pinside, and Ebay.
Here are some pictures. I'll post a game play video soon.
It works 100% It has full LEDs and rebuilt
flippers. The boards are original and clean. The cabinet paint is in
great condition.
This is a legendary game by designer Steve Ritchie. By far the best
multi-level game made in my opinion. The game has multi-ball, speech,
Magna-Save.
My machine has been modified with a wire form on the lower level that
sends the ball from the plunger lane into the right inlane. This inlane
lights the spinner, so you start the ball with a skill shot. The game is
made a bit more difficult by starting the ball on the lower level
instead of starting on the upper level. This makes it harder to lock
balls and get Multi-ball.
The lane the ball would usually exit on the upper level is now open to
return the ball to the lower playfield. This lane has a switch which
awards the bonus multiplier, so there are now two locations to earn the
bonus multiplier since the turnaround also awards the multiplier.
Delivery and set up are available for a small fee.
1972 Gottlieb World Series Pinball Machine - Playfield Restoration Part 2
This post will document the restoration of the playfield. I will wrote two
other posts about this machine. One was about restoring the cabinet and the other was about restoring the backglass.
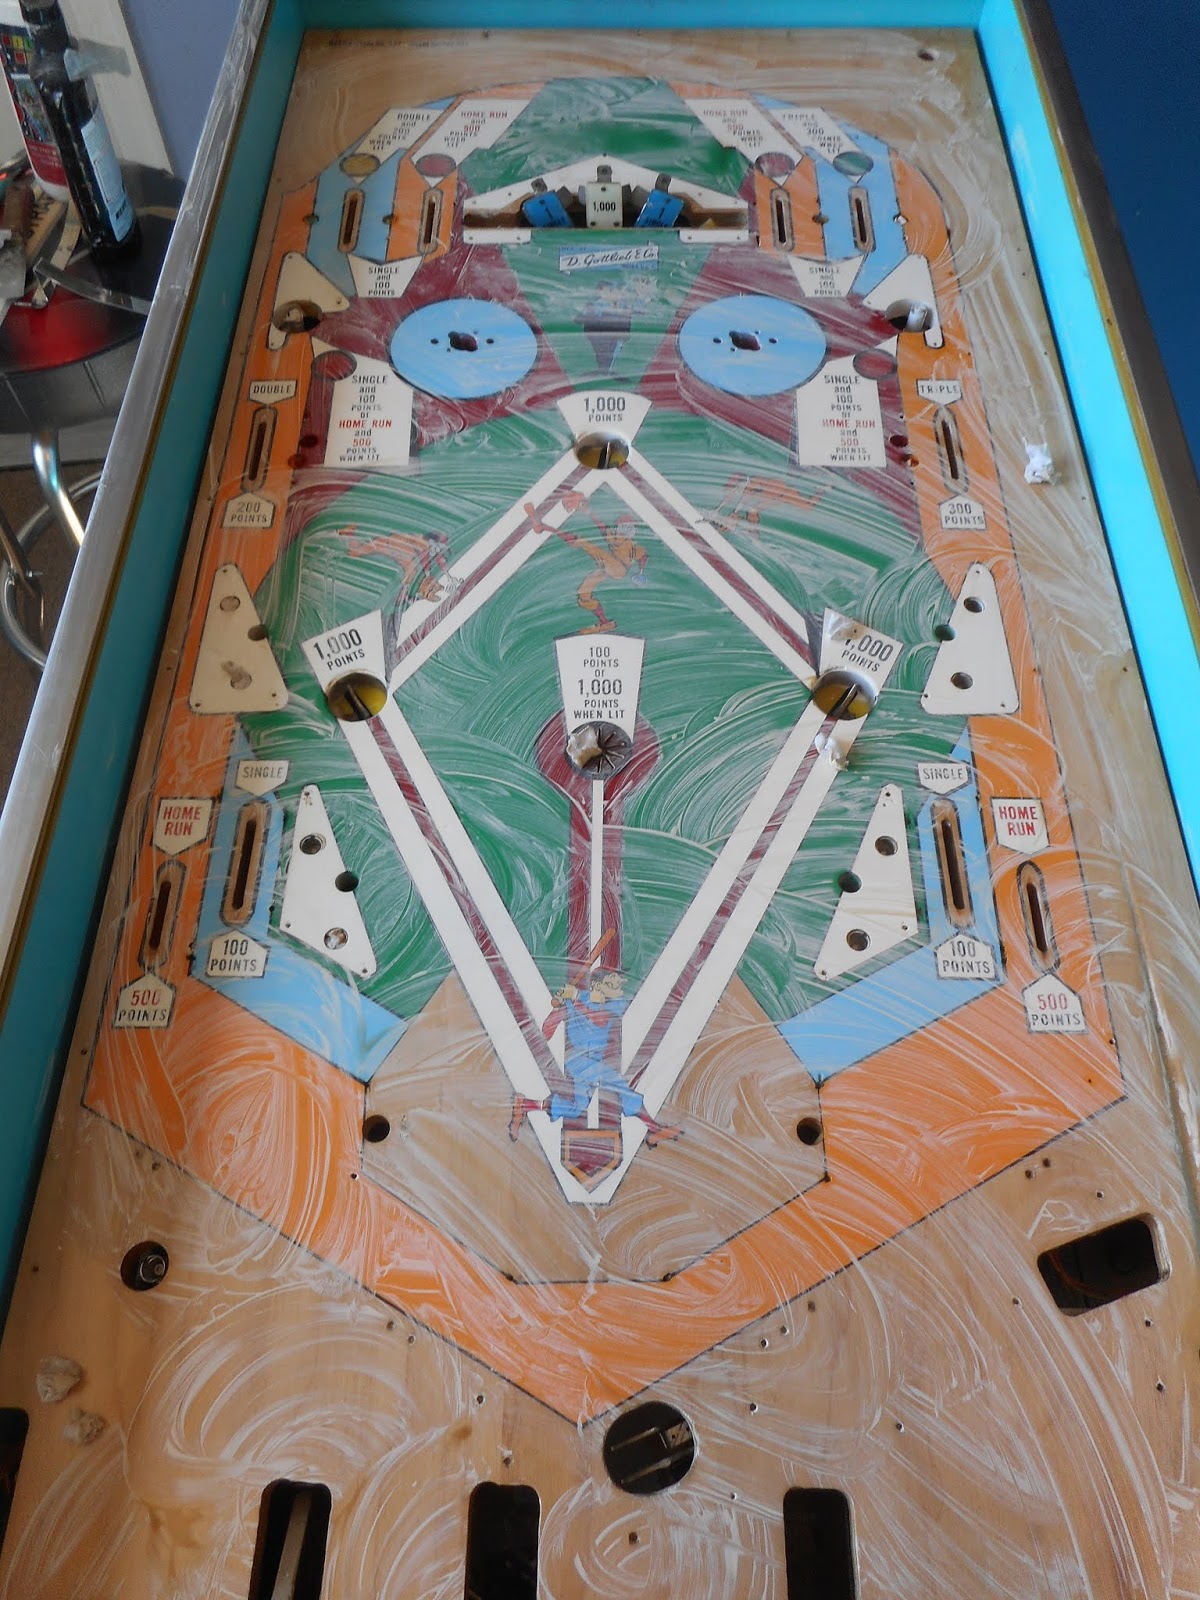
I left off the last post here. All of the colors are added to the playfield. I cleared over this layer of paint to protect it and to provide a base layer for the decals. Next, I need to work on the decals for the playfield.
Original photo of the batter. You can see how damaged he is.
Here is the new cleaned up version of the photo. I brightened the colors and cleaned up the lines in a computer program and now it is ready to be printed as a decal.
Once ready I printed them to check their size. I compared the tracing to the printed image until they matched perfectly. I then placed them all on one sheet and printed them. Next I used images taken before sanding to create and clean up all decals of the text.
Here are samples of all of the decals laid out on the playfield.
Here is the playfield with the decals. I cleared over the decals with 3-4 coats.
Next I polished the playfield. It was much easier to polish it without all of the components and posts getting in the way and getting bits of polish on them.
Here is the finished playfield reassembled. It looks beautiful and plays great. Check out the videos at the top for game play and game features.
The buyer was happy with the machine and excited to get it home and add it to his collection.