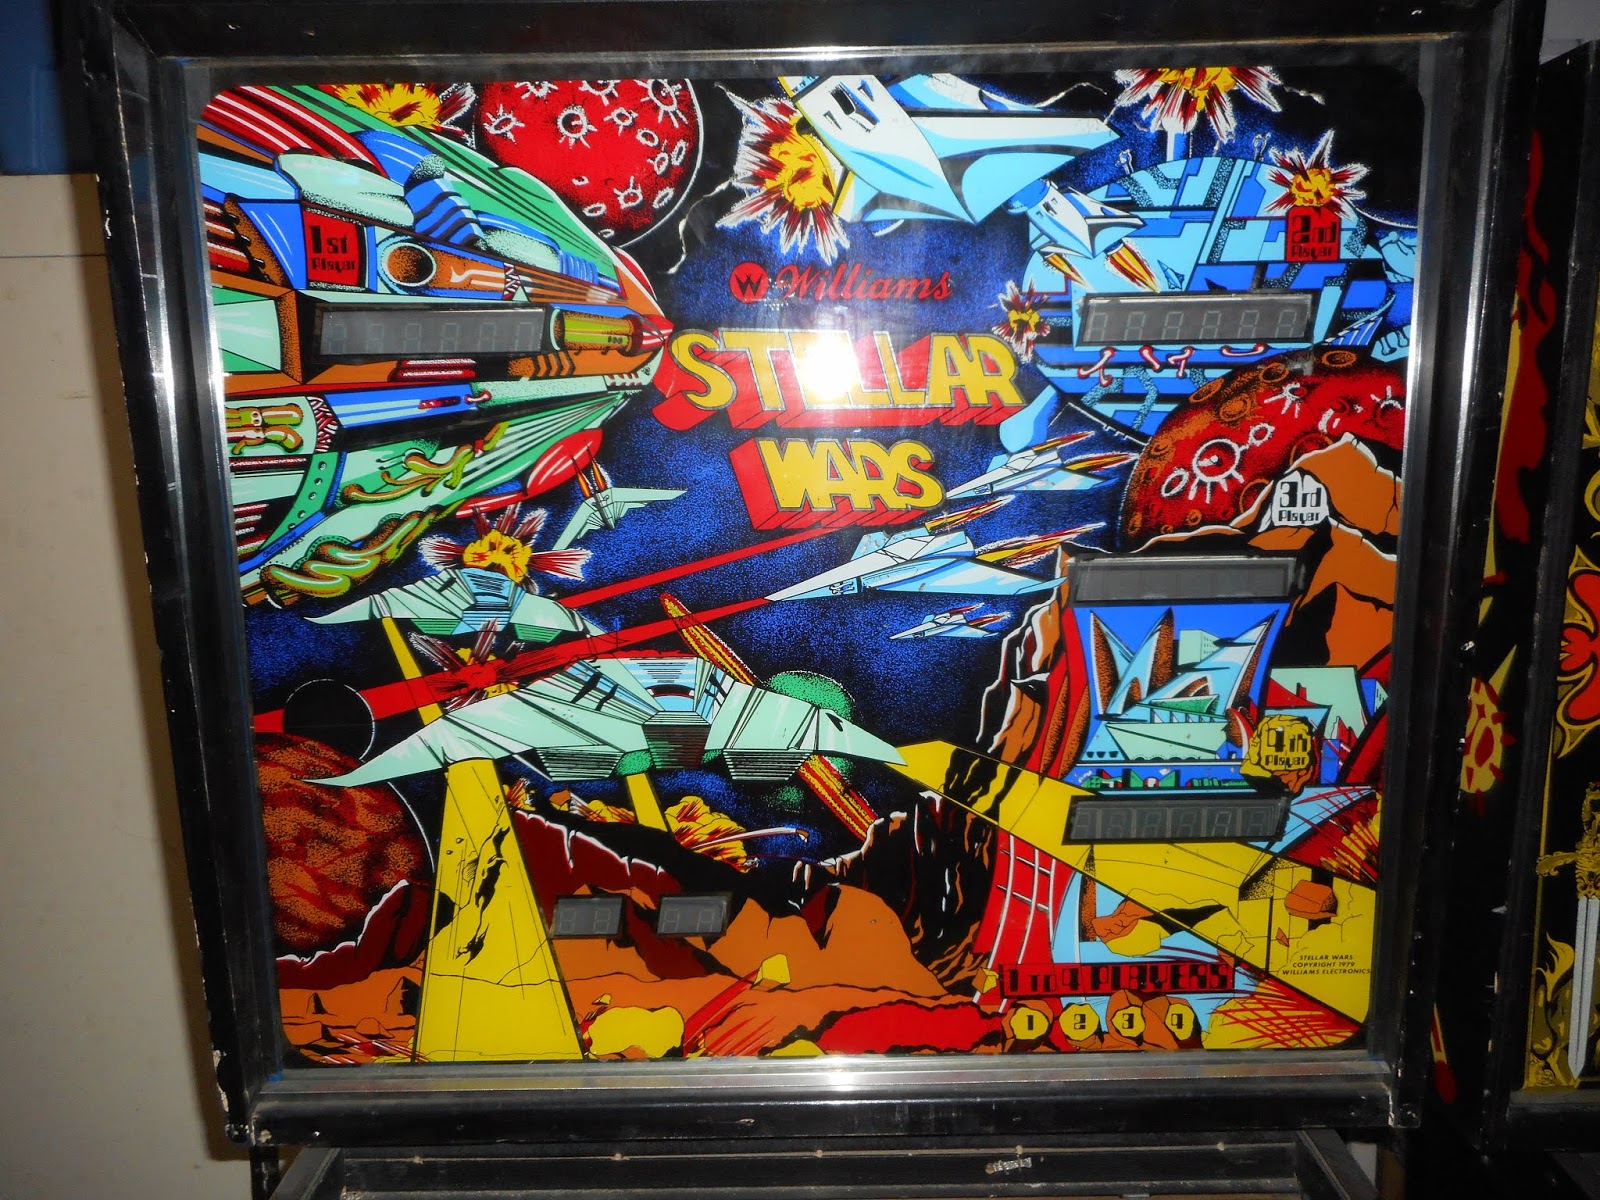
Above is the "finished" video. This game plays well and looks pretty nice after the touch ups I did. Below is how the game looked when I received it. I knew it had wear to the playfield, but I was told it was fully working. I committed to buy the game and a friend transported it for me. I was pretty disappointed when I picked up the game and it was not working. There were several issues which I'll get to later.


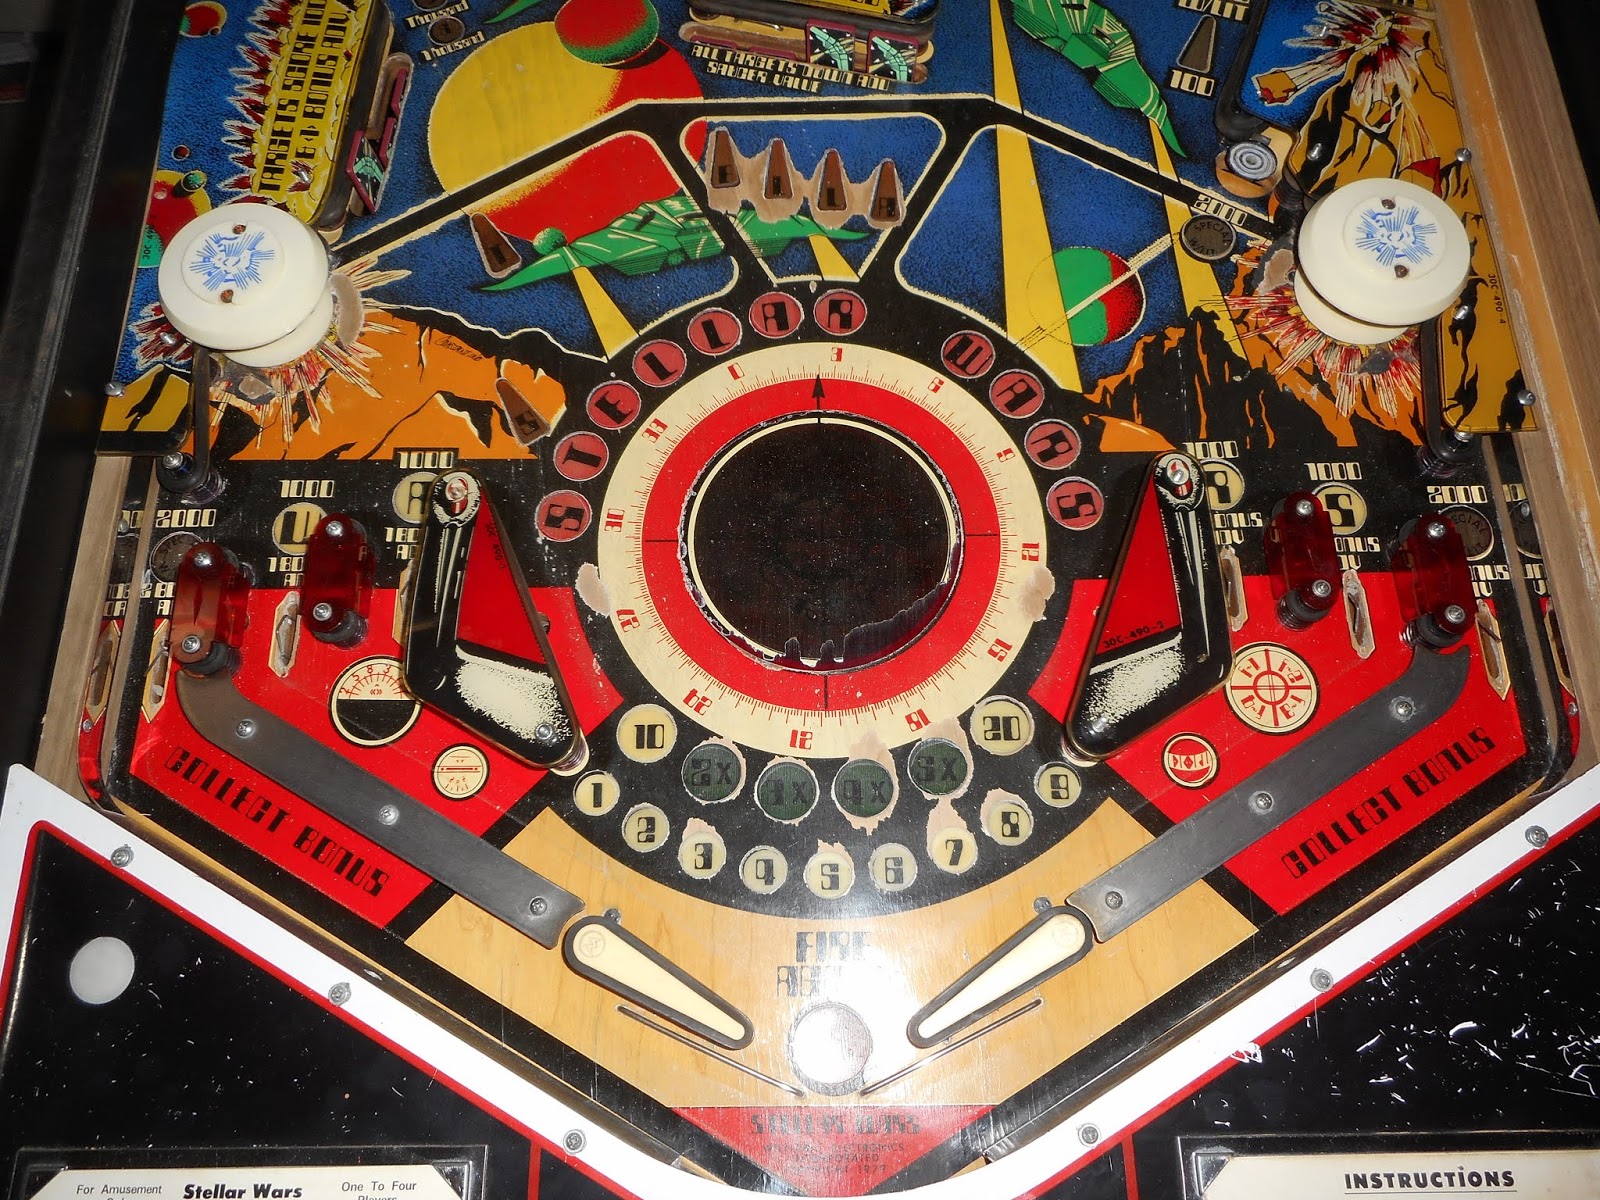


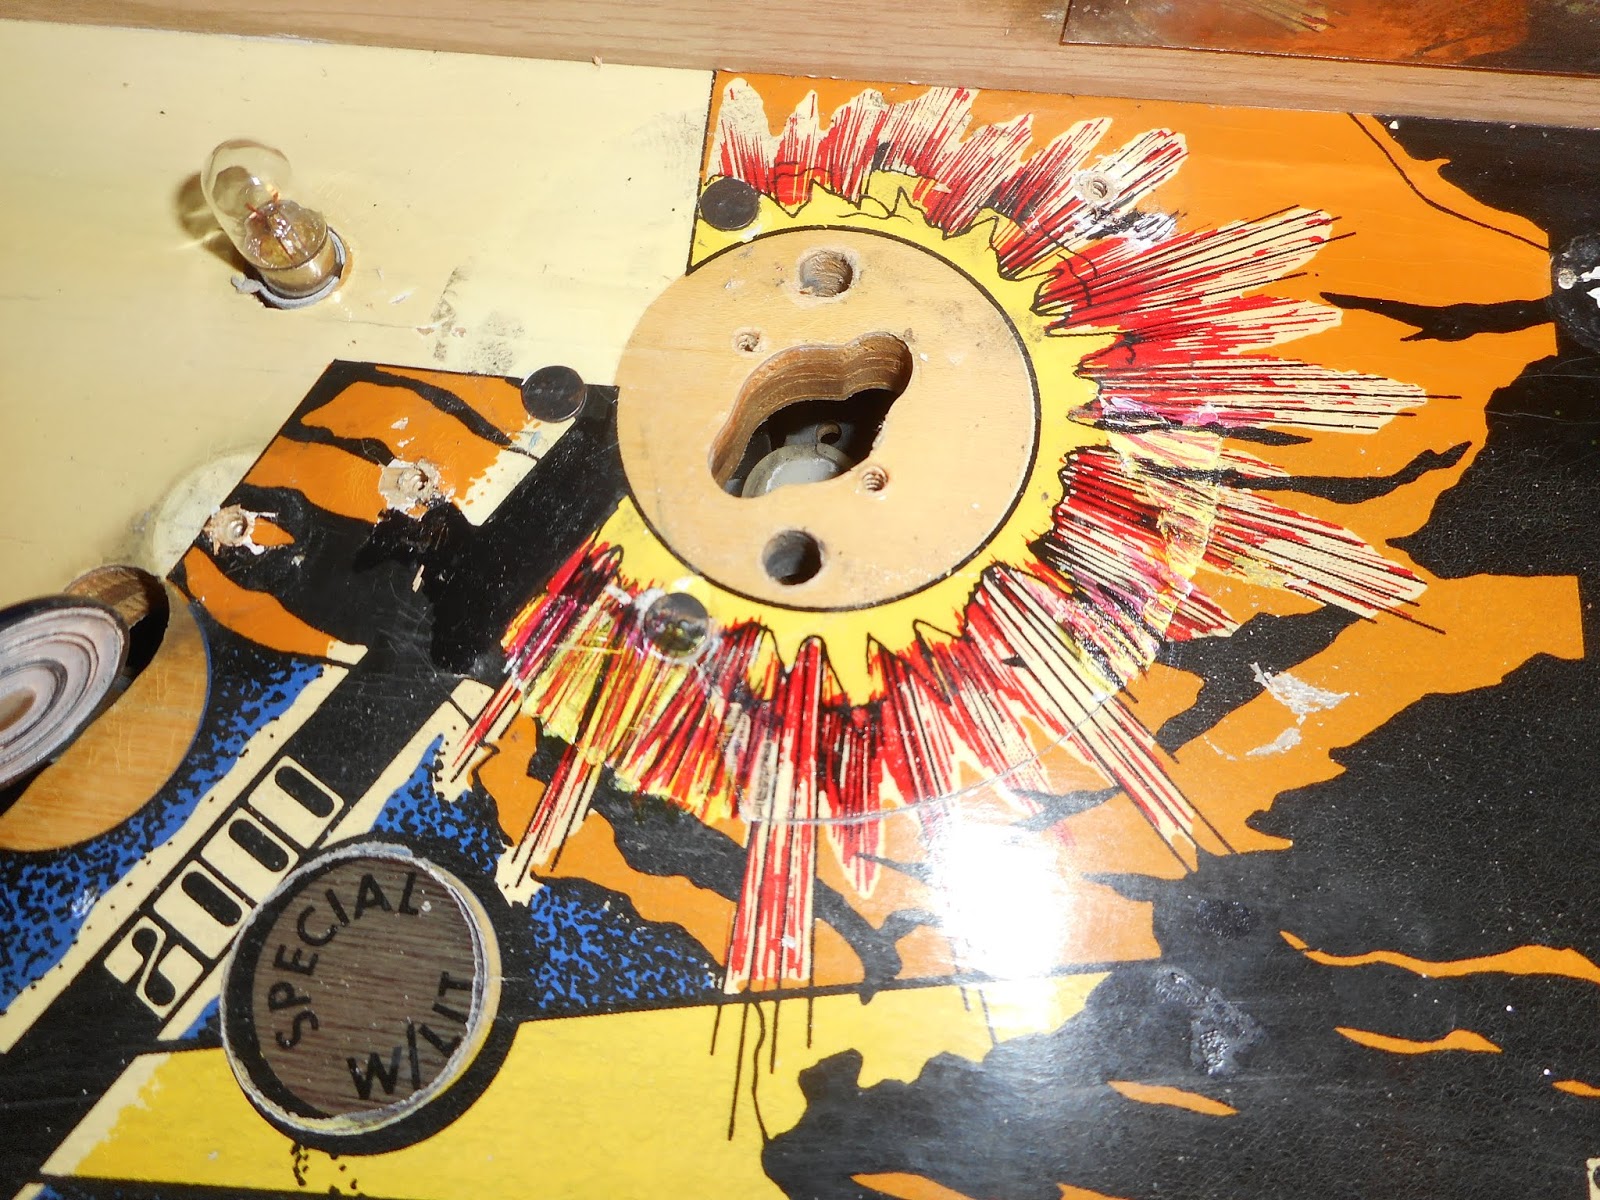
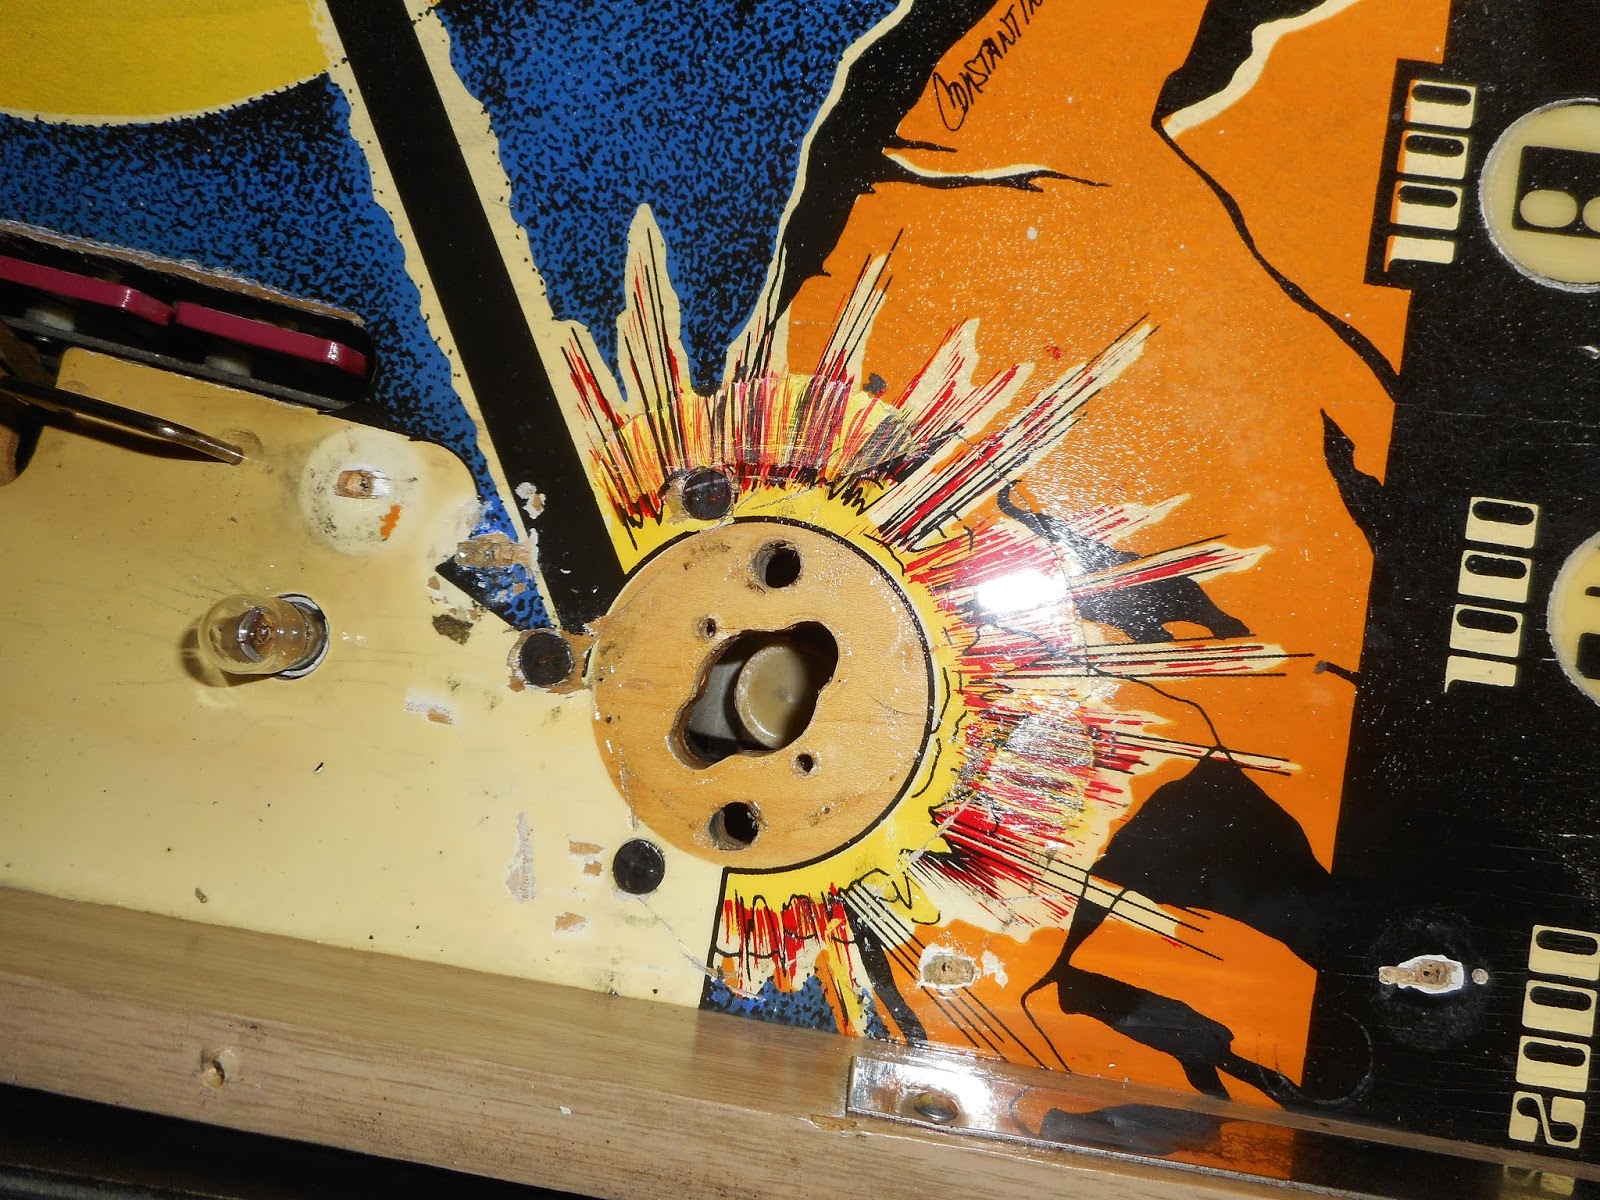
What happens around the pop bumpers is that the mylar eventually lifts and dirt collects underneath. The dirt acts like sand paper and destroys the paint. Not all of the pops have wear, and they are not worn everywhere, just the spots that lifted.


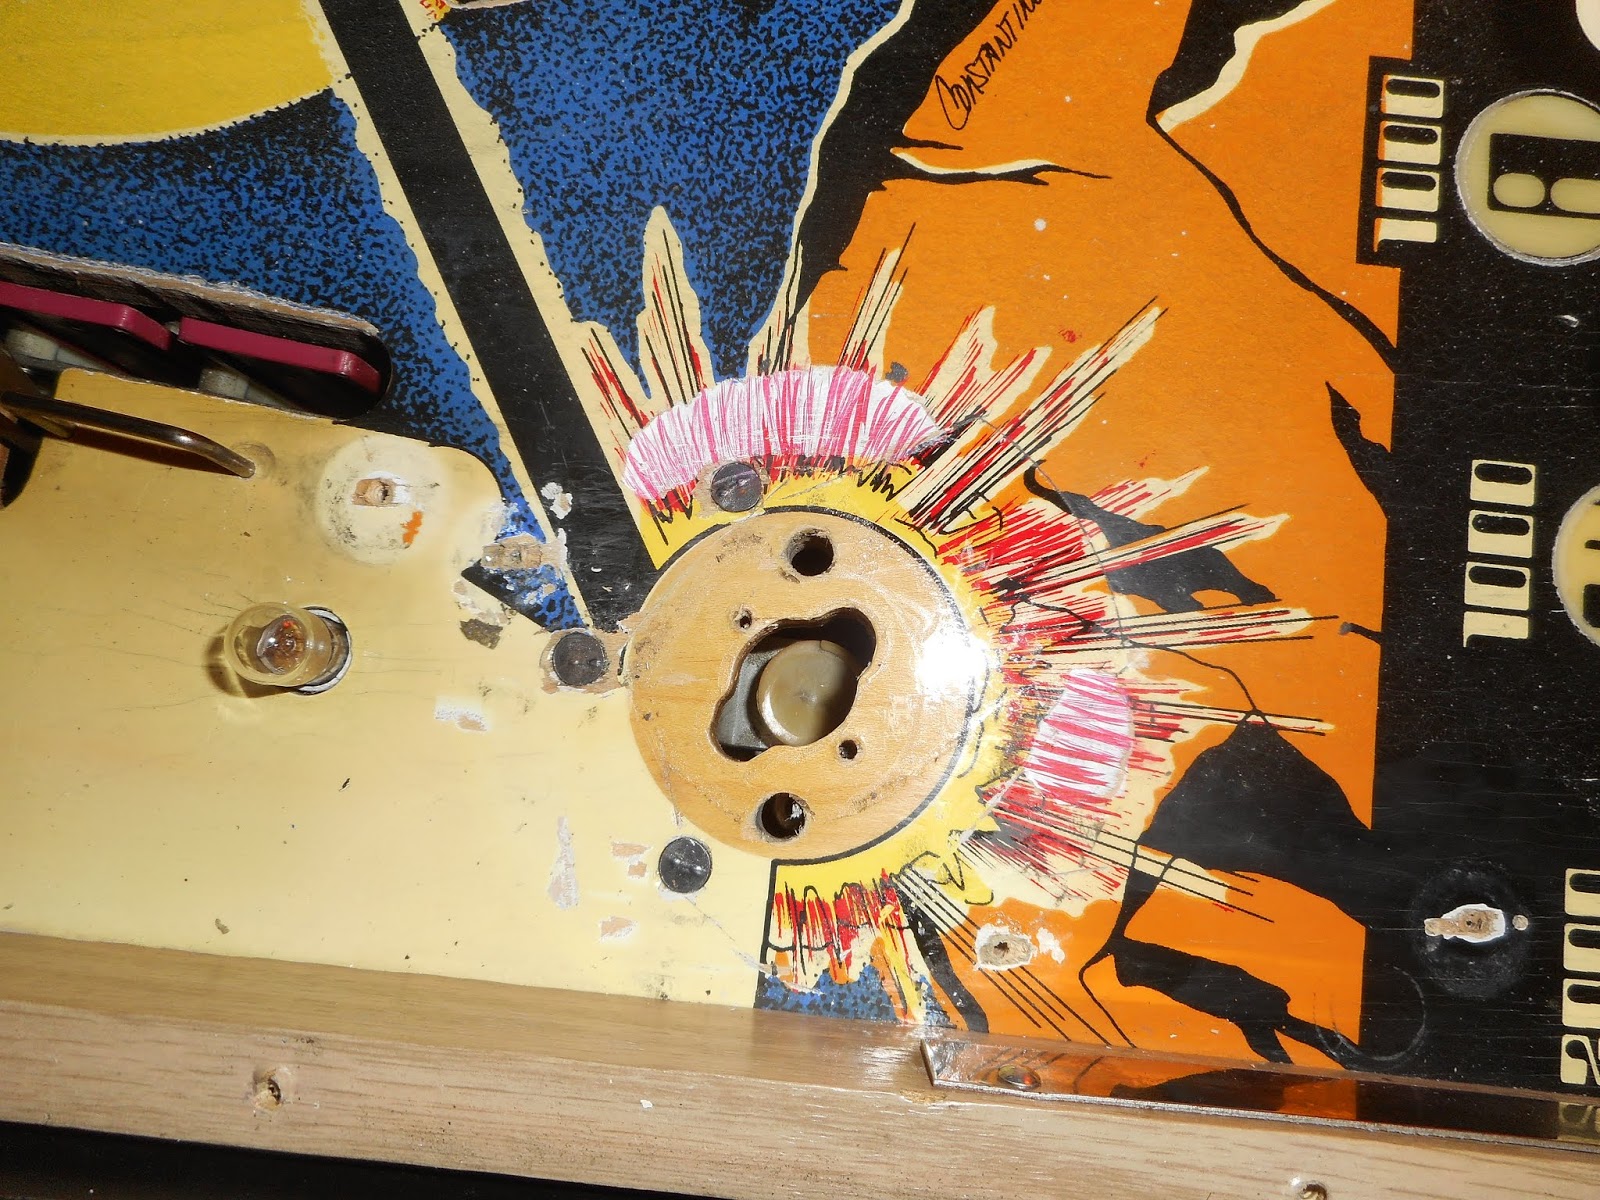


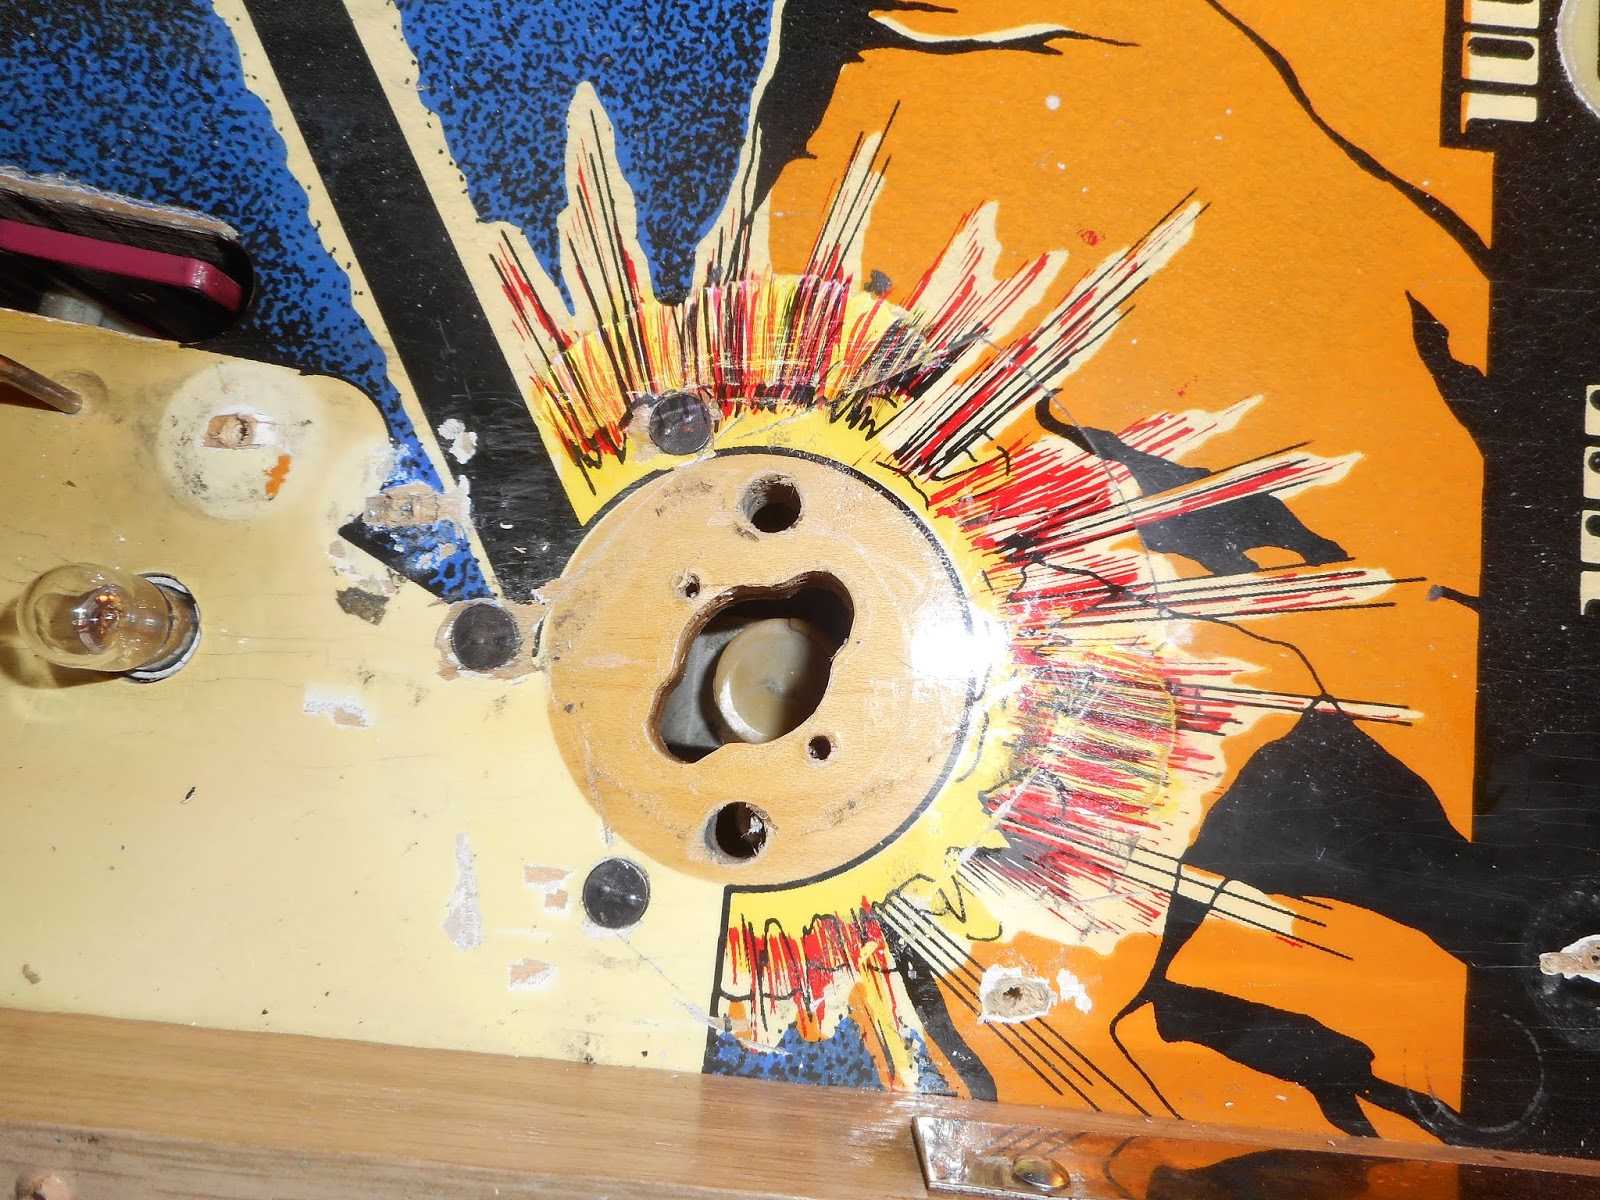


Here I have tried to match and cover the green areas.


Those aren't as easy to photograph or document, though I'll add some pictures of the finished work. One of the major issues was that a lot of coils were not working, lights were not working, and the machine was behaving very strangely.
For instance, the flippers would fire the kickout hole, but the kickout hole switch wouldn't fire the kickout hole. The right flipper would trigger random sounds. If certain background sounds weren't selected, the ball eject would fire endlessly. The spinners didn't register. Random drop targets wouldn't make sounds. The left sling wouldn't make sounds. The fire again light was permanently on. The number 4 rollover wouldn't register.
My first guess was that I had an issue with the chips on the board. The interconnect which is notoriously troublesome on these system 6 machines was already replaced. I decided to follow Vid's Guide to bulletproofing System 3-6 boards on Pinside. I replaced capacitors, fuse mounts, diodes, burned resistors, and then decided to socket the chips with sip sockets. My son and I did this, but made the decision to insert the chips to tack down the corners of the sip sockets to keep them properly lined. up. When the game was put back together again, I only got one light on the MPU and it stayed locked on. The displays didn't turn on and we couldn't start a game.
My first guess was that I had ruined the chips. There were a couple of chips that were damaged as we tried to remove carbon from the legs. So, I decided to order a new set of chips.
I had a Rottendog universal board in my Firepower, so I inserted that board to see what issues were due to the board and which were on the playfield. It turned out, most of the issues were on the playfield, so I then regretted socketing the chips. A lot of the weird behaviors were due to a short on the playfield where the switch for the left kicker was touching the switch for the kicker sound. When I separated them, many of the issues cleared up. Next, I found some bad capacitors on some of the switches. I ordered new capacitors for the switches.
While I was waiting, I also worked on some of the lighting. I didn't have enough LED bulbs left over to LED the whole machine, so I put some frosted warm white bulbs in the backglass behind the Stellar Wars logo, which helped brighten the backglass. Next, I found a set of bright red LED bulbs that were too bright for my Black Knight, but worked perfectly for the Stellar Wars letters in the center of the playfield. I put some warm white bulbs under the Wars letters in the inlanes to brighten them as well. I then placed an orange bulb in the Fire Again insert. All of the bulbs worked without any modifications to the sockets as I've needed to do with Bally machines.
When the chips arrived, they didn't fix the issue. I was totally bummed. Next, I pulled out another board I had from my Firepower machine. I inserted the new chips into that board and the machine fired up. I was ecstatic, but still confused. I tested the the components on the machine again and found that a "row" of lights were out and a few coils were not firing, including the top center pop bumper. I pulled the driver board and noticed some of the transistors had been bent back and forth so man times, they were ready to break off. This was clearly the cause of the Stellar Wars bulbs heating up so badly. They had started to melt the plastic covers on the bulbs. I replaced the transistors and reinserted the board.
I'd like to tell you at this point that everything worked, but the center pop and the row of lights still didn't work. In addition, the right flipper would cause random sounds when it was flipped. All components on the board including transistors and resistors and diodes tested correctly.
Frustrated, I pulled the driver board from my Firepower. I turned on the machine and every coil fired at once and then turned off. I started a game and the row of lights worked and the center pop worked. Thinking I was lucky and home free, I started to play a game, then the flippers fizzled and stopped working. I turned the machine off and then back on. The flippers worked with the machine turned on, but a game not started. When I began a game, the flippers didn't work, but everything else did. Then the top left pop bumper locked on.
Honestly, I messed with things swapping boards back and forth trying to figure out which boards issues would be easier to fix. In the end, neither wanted to cooperate. Both boards would need better bench testing equipment to figure out what was going on. I had connectivity between components and replaced connectors and wasn't able to figure out what the issues were.
Next step, new Rottendog board. I figure that I cold send the boards away and get them fixed for perhaps $100-150, but then I'll have repaired boards that may still have issues in the future. I haven't had any issues with my Rottendog replacement on my Firepower, so I decided that would be the way to go.
No comments:
Post a Comment