1972 Gottlieb World Series Pinball Machine - Cabinet Restoration
This post will document the restoration of the cabinet. I will write two other posts about this machine. One will be about restoring the glass and the other will be about restoring the playfield.
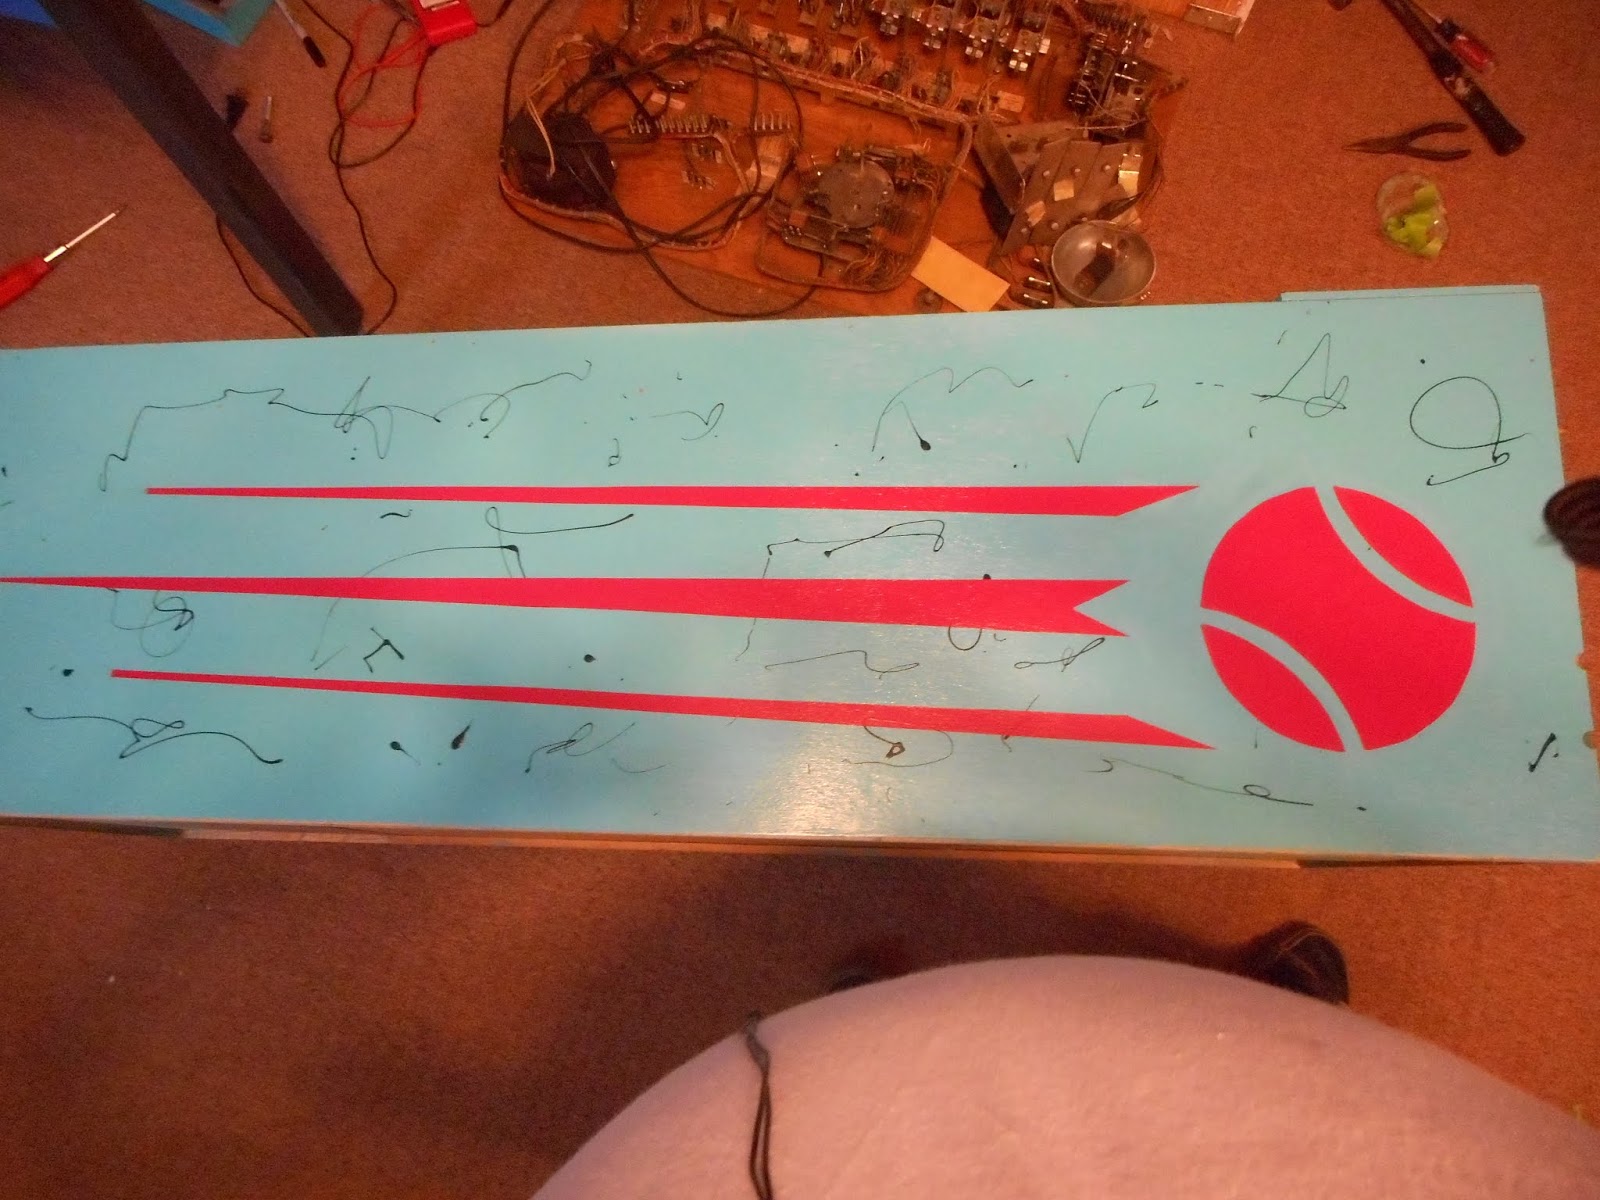
The cabinet was in pretty rough shape. The paint was flaking and had
been scratched away. You can see here that someone was recording their
top scores on the side of the machine
This is a closeup of the side of the cabinet. Most cabinets have some sort of splatter pattern, either to add some texture to the artwork or to hide mistakes better. This splatter pattern is some sort of drizzle splatter pattern. I couldn't quite figure out how they did it. My guess is some thin stretchy paint like latex on some very thin applicators.
Here is a close up of what I found under the shooter rod cover. You can see the paint on the cabinet looks like a faded white, but it was actually a deep bright pink. It appear the paint faded from bright pink to white. I've never seen this before.
I purchased paint and tried to match it to the original colors. It is pretty difficult to know what was the true original color, but I wanted colors that would match the unfaded paint and the backglass. The blue had a greenish hue to it. These colors seemed to work well. I may have picked different colors if I was keeping the machine. The new owner wanted original colors. They aren't very baseball, but they are original.
Here is more of the splatter pattern inside the cabinet.
I pulled everything out of the cabinet, took the legs off and removed the side rails. If you work a putty knife under the rail and then use end nippers to grip (not cut) the nails, you can pull them out. I think in the future I'll at least partially fill the nail holes so the nails will be more secure when I return them.
Here I am using some stencil paper to trace the pattern. It is pretty simple and geometric.
I didn't bother with the center as I can use a straight edge to connect what I had.
The cabinet is probably covered in lead paint, so I took it outside to sand. Probably took a couple years off of my life sanding it. I used a mask with filters, but dust gets everywhere.
Here I noticed as I was sanding that as I went through the white paint, you could see the pink underneath. It seems only the surface layer turned white. Underneath, the paint was still pink. This confirmed for me that the paint was actually pink instead of white.
There were some spots on the edges that were damaged and would need some attention later.
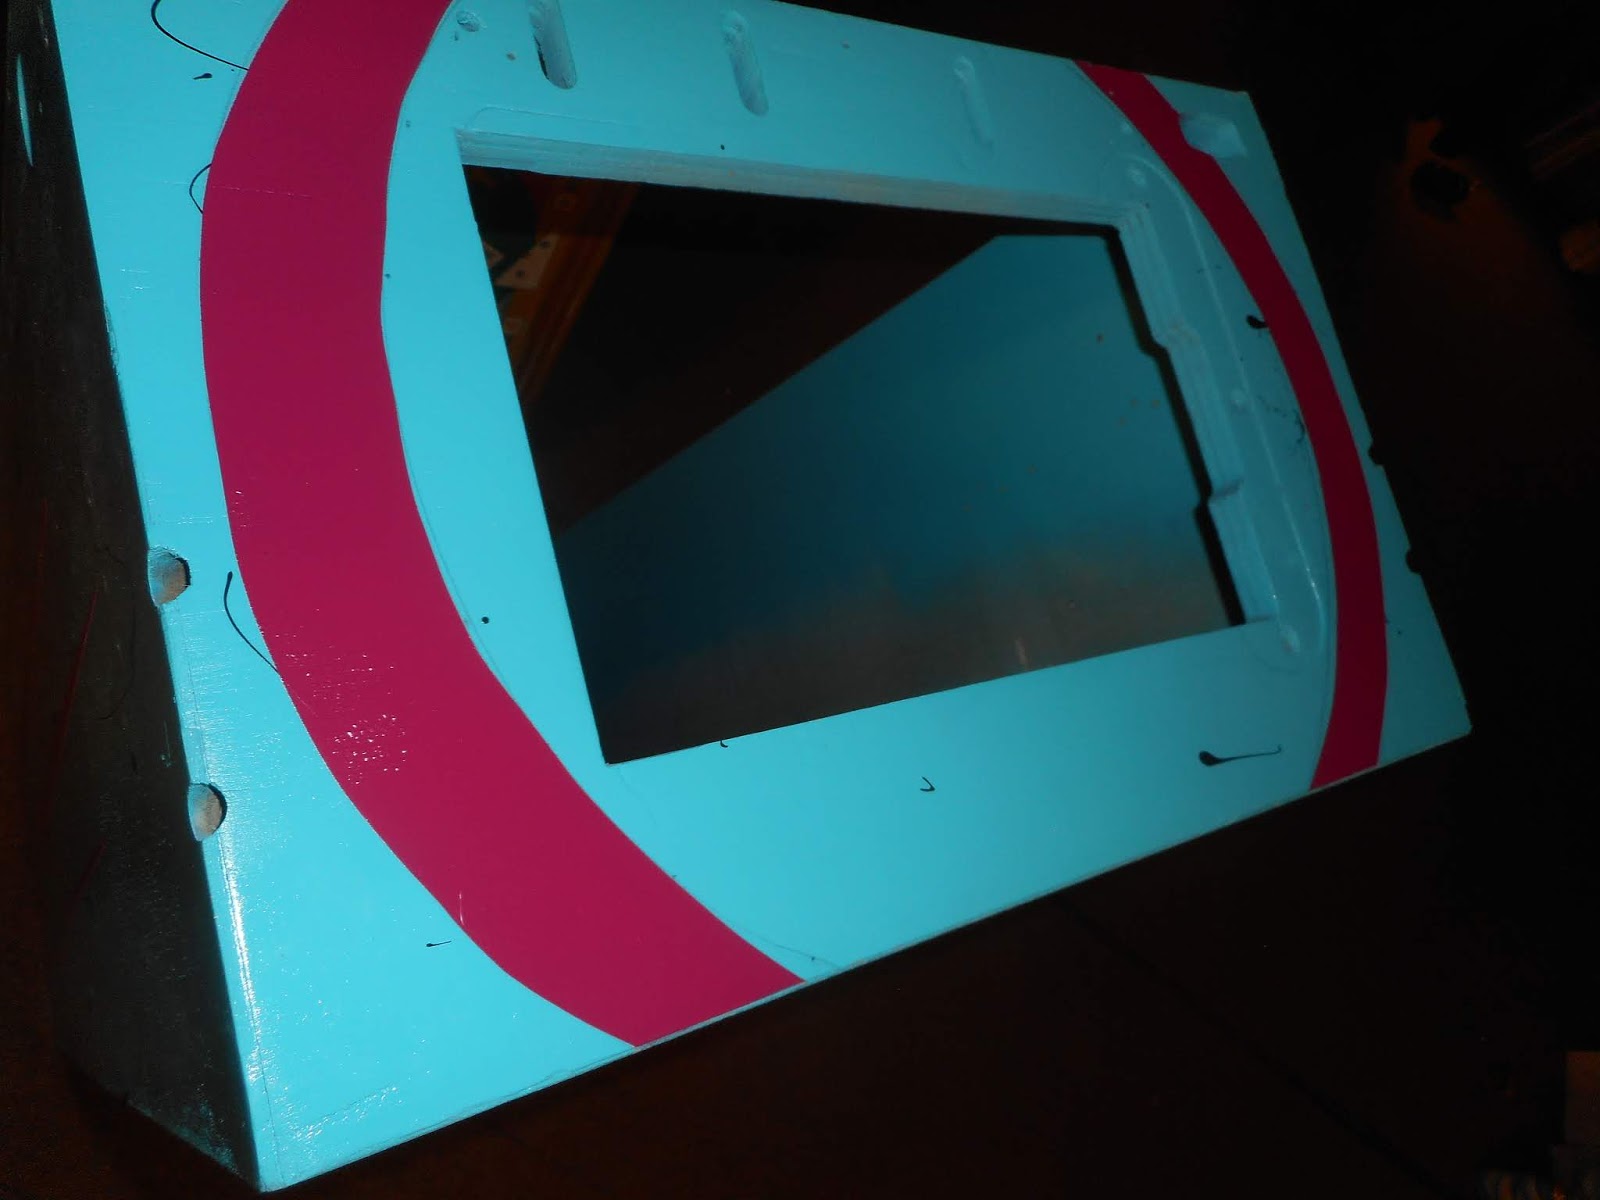
Here I am creating a stencil for the backbox. The spirals were harder than I thought.
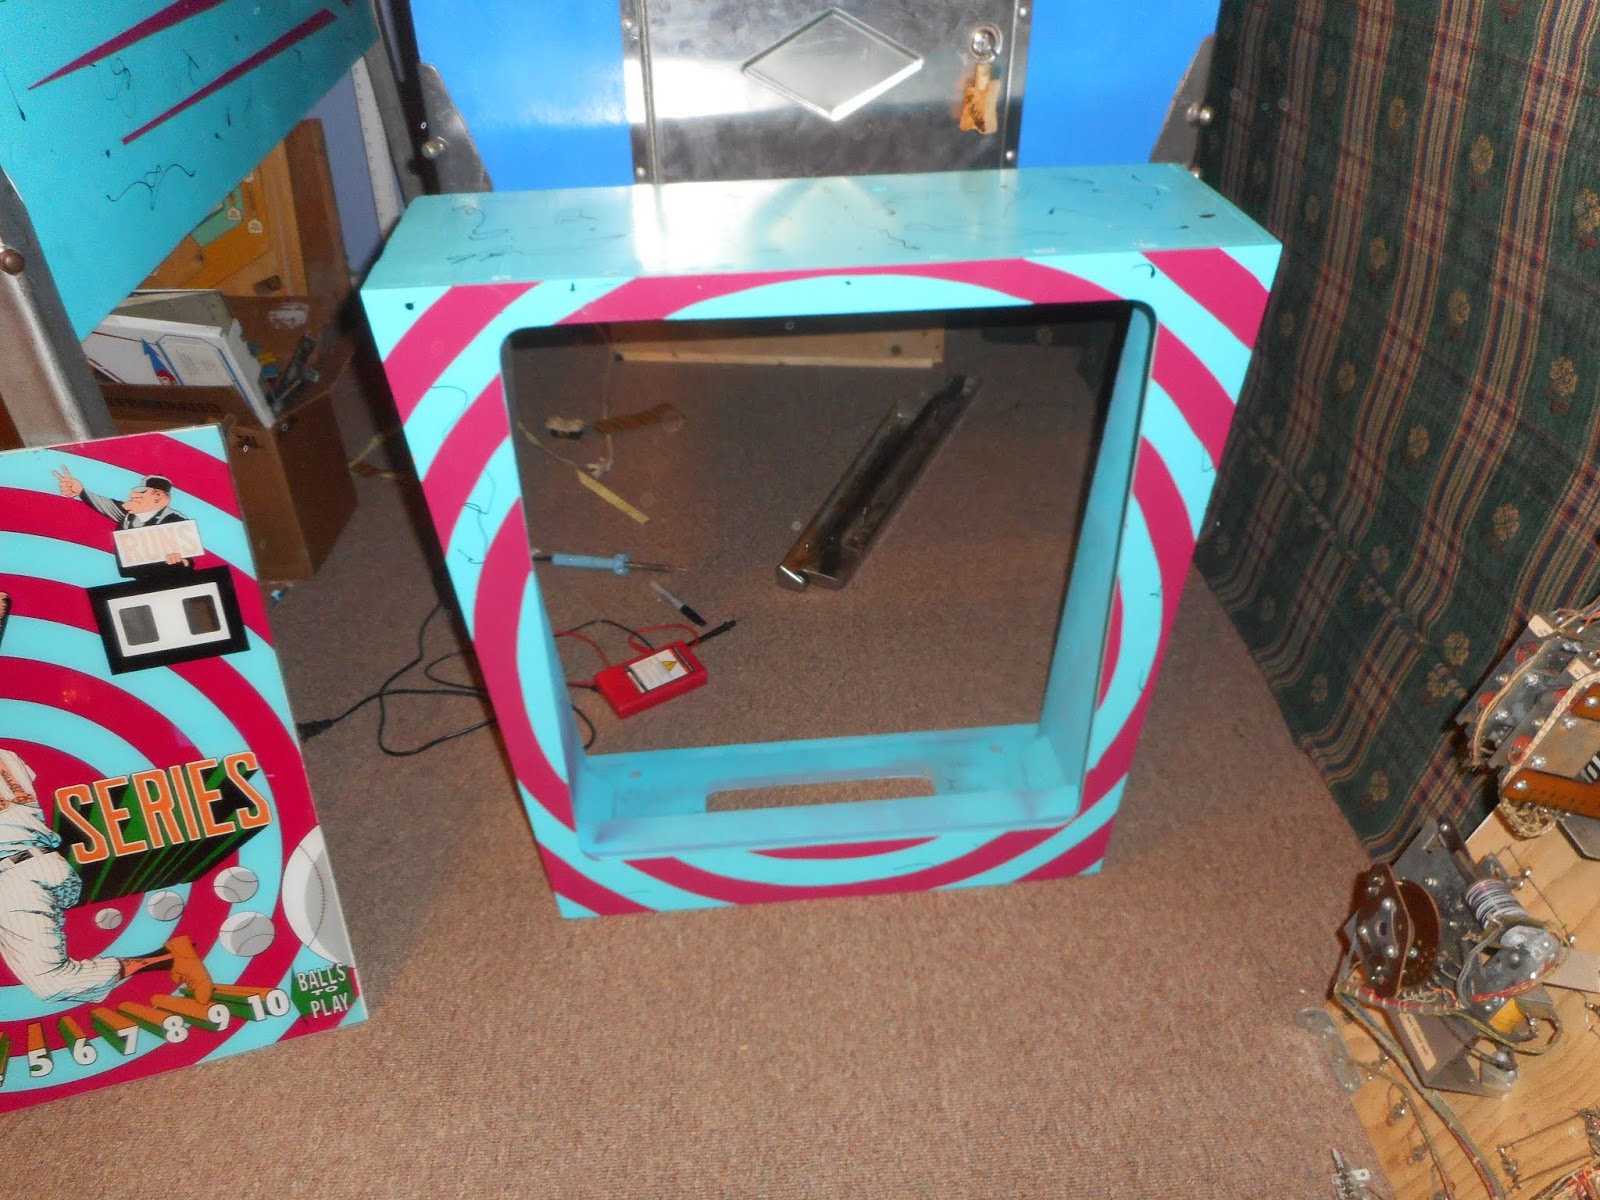
Here are the painted cabinet and head.
I tried a few different methods and paint types. The closest I could find was latex paint. Here I tested the elasticity it needed to create the drizzle effect. It is too thick to create the very light thin drizzles of the original, but still creates an artistic effect.
Here I transferred the stencil by making holes in strategic areas and placing dots on the cabinet. I didn't want to go with a rubbing effect.
After I penciled in the stencil, I drizzled the cabinet.
Here the cabinet is taped and ready for painting. I find frogtape works much better than any fisket I have tried.
Again the curves were tough to do. They didn't come out perfectly. I learned a lot in the process. I'll invest in some better tools next time.
The paint colors and spirals matched the backbox pretty well.
With the cabinet finished and put back together, it was time to move on to the backglass.