I was recently the recipient of a Black Knight 2000 in need of repair. I was asked to clean and polish the playfield, replace the rubber, and repair the right flipper. Little did I know how big this little job would get.
The following is a photo journal of my repairs.
The first pictures are detailed pictures of the playfield condition. I don't think it had been cleaned in many years. The balls were pitted and had removed much of the paint off of the upper level. The rubber was dry and cracking. Many had already fallen off and were replaced by white rubber.
Before (top) and After Cleaning (bottom)
Accumulated dirt in the shooter lane.
In this picture you can see the bubbling under the playfield mylar.
The magna save logo has some paint missing in the center due to the movement of the ball there.
The bare wood on the edge of the upper playfield and the ramp entrance.
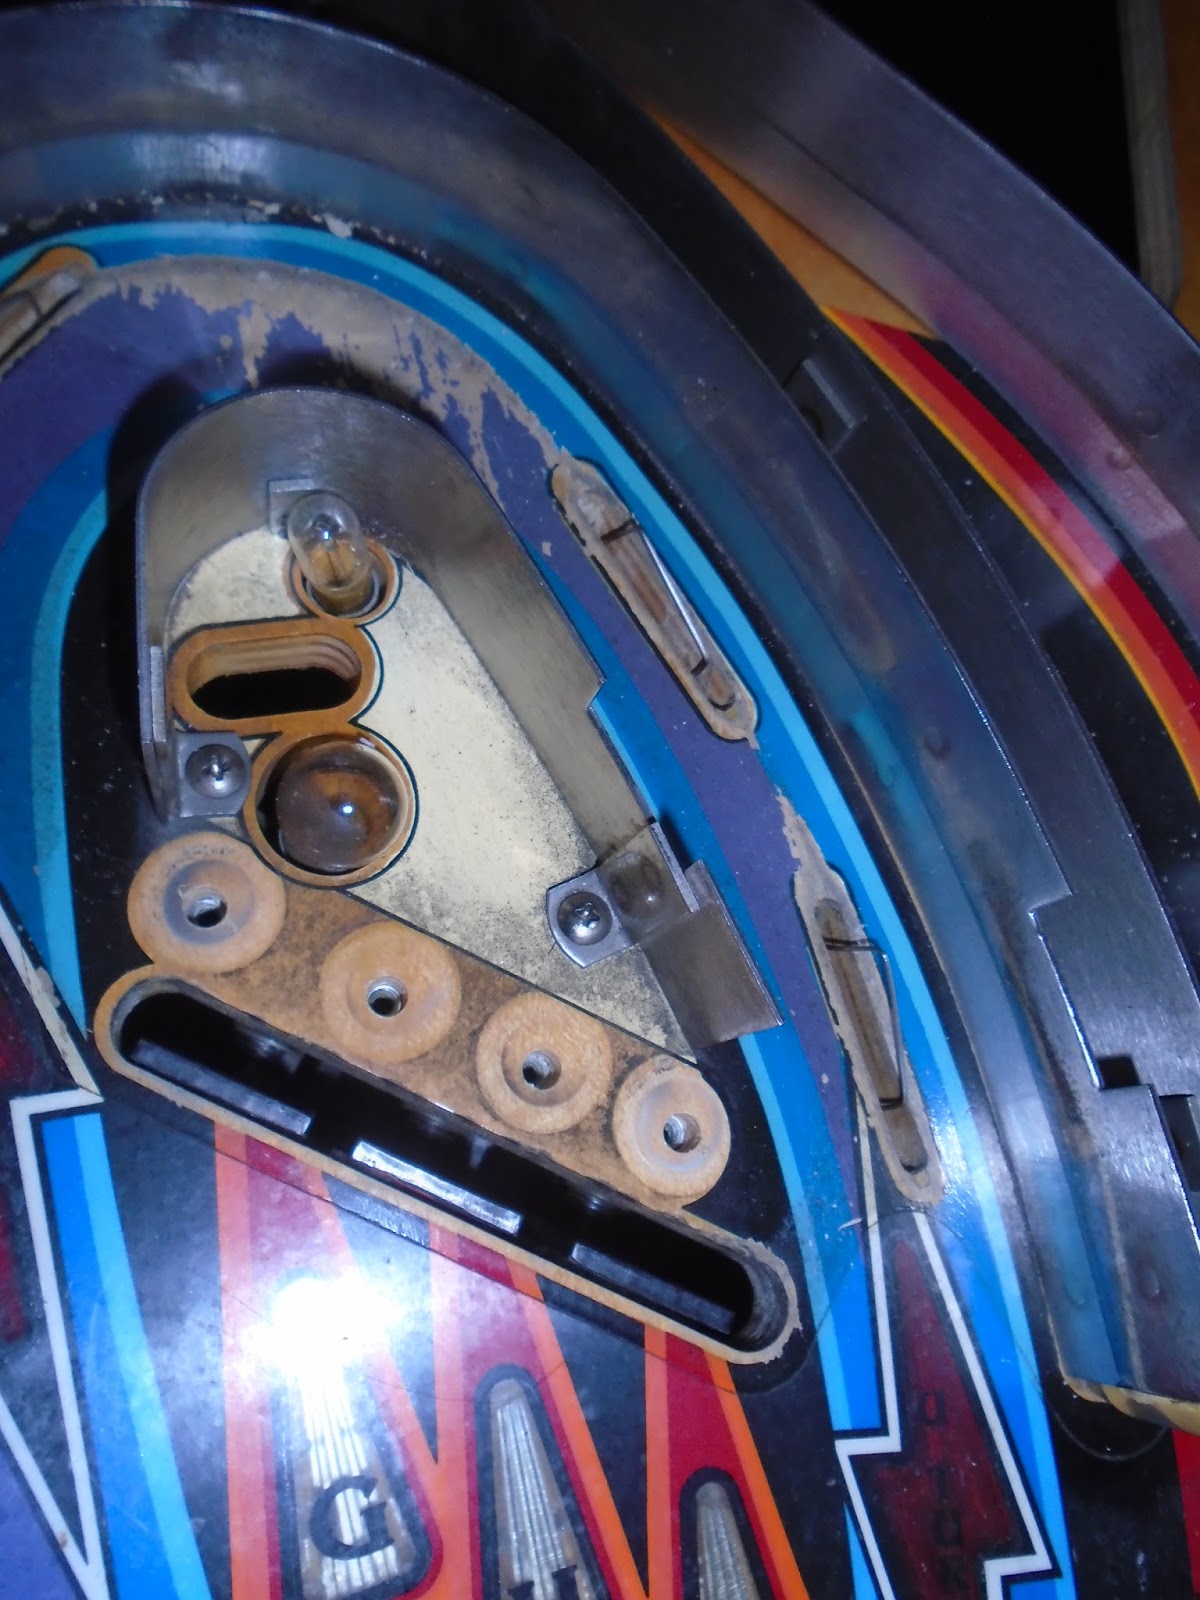
Paint wear on the upper playfield.
Paint wear under the upper habitrail where teh ball drops from the plunge. The wood here was also worn away causing a small divit.
The instruction cards also accumulated a lot of dirt, grime, and wear
Missing rubber.
Something like peanut butter smeared on the face of the Black Knight on the glass.
The condition under the upper playfield.
Inside the loop. The mylar ends at the beginning and end of the loop, so this section remained unprotected from wear.
Next I'll move on to specific areas in need of repair.
In these two pictures you can see one of the issue with the right lower flipper. The spring is broken and folded over itself. I needed to replace the spring, replace the coil sleeve and clean all of the parts.
The next few pictures show the right sling shot coil. I had no idea there was anything wrong until I inspected the machine further. The link between the coil rod and the kicker arm had broken through. this caused the spring to become mangled as well. I had to replace both and the coil worked fine.
Here I ran into the second problem with the flipper coil. The owner thought the coil was burned, but it was just dirty contacts. Once I replaced the parts, the flipper was still sticking. I couldn't figure it out as the flipper switch wasn't the cause, and the coil wasn't locked. Further inspection found that the end of stroke switch had worn through on the depression tab due to the arm not having a protective sleeve like the left flipper. I replaced the end of stroke switch and the problem was solved.
Minor issue. The beer seal on the lockdown bar was pretty toasted. Replaced.
This pop bumper coil burned during a test run. You can see it here in it's locked position. I replaced the coil and a fuse under the upper playfield. The pop bumpers would still not register with ball hits. it turned out that there was a deep layer of grime inside the cups which restricted movement. All three were cleaned and the switches were adjusted.
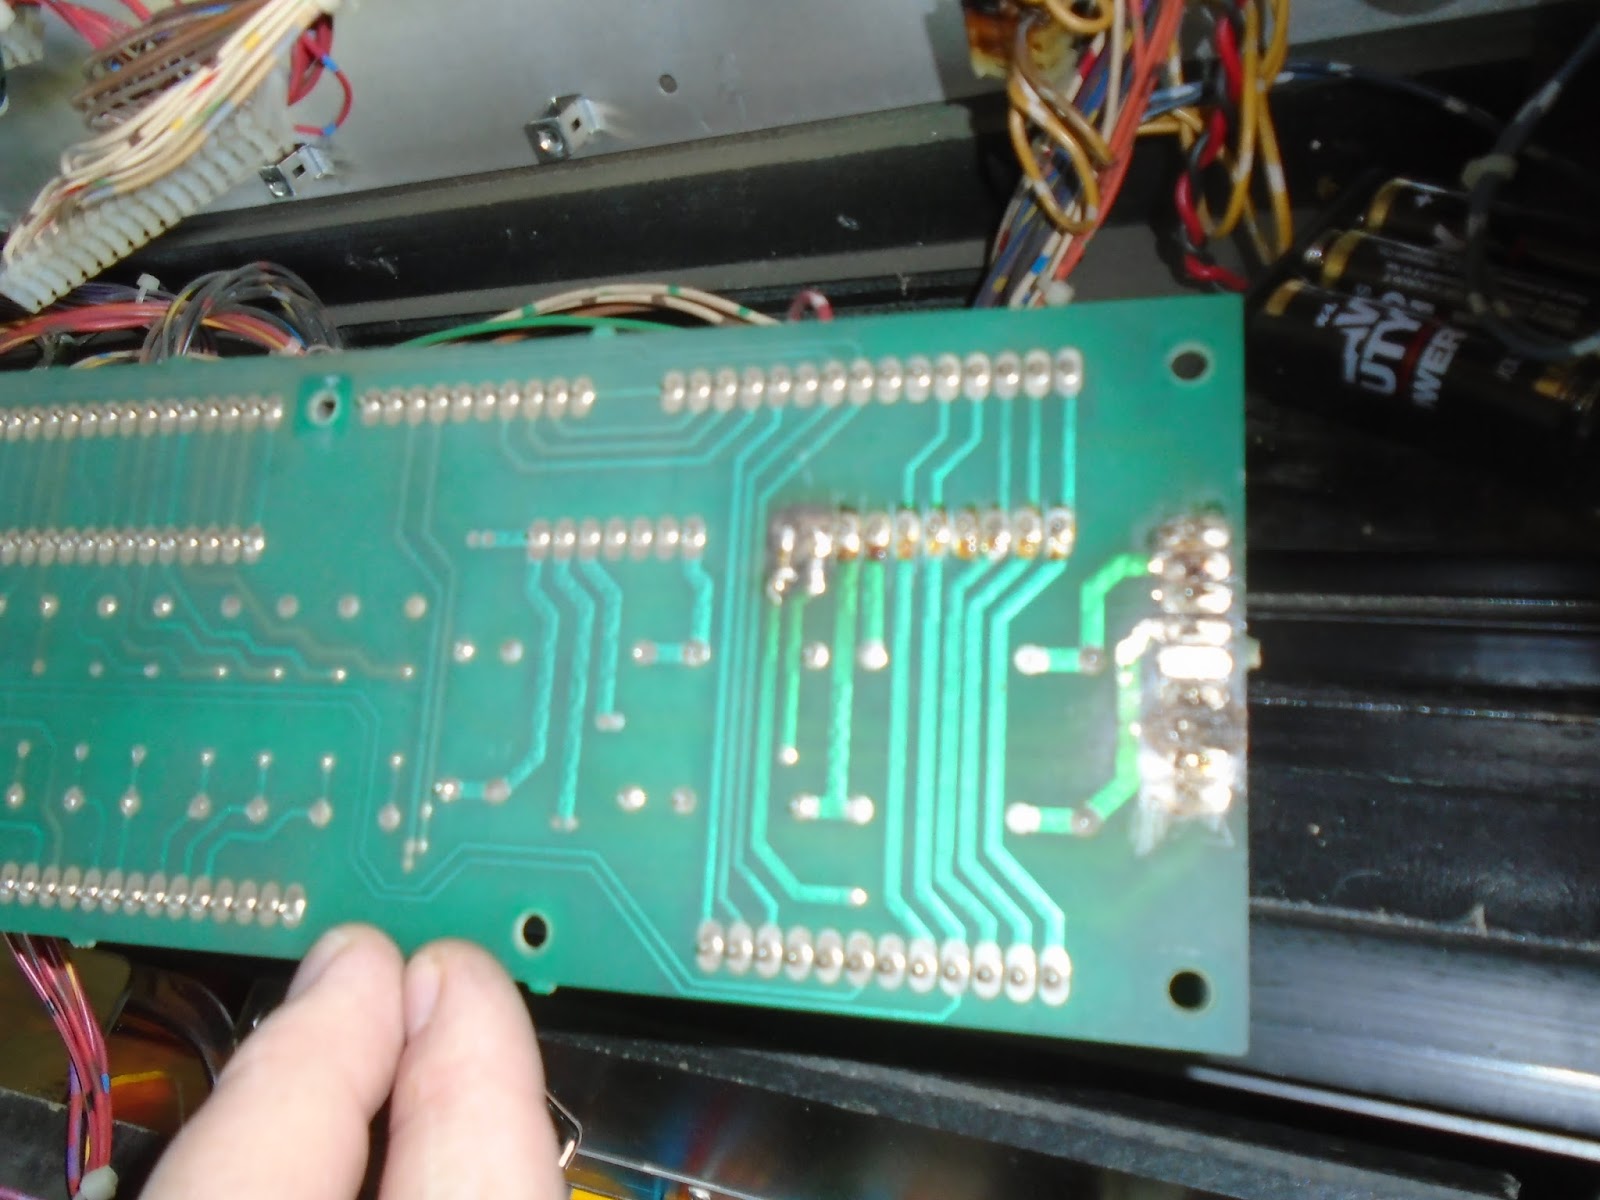
Tip 102 Transistor that needed to be replaced on the CPU board. This was tied to the Magna Save which had stopped working. Replaced. Problem solved.
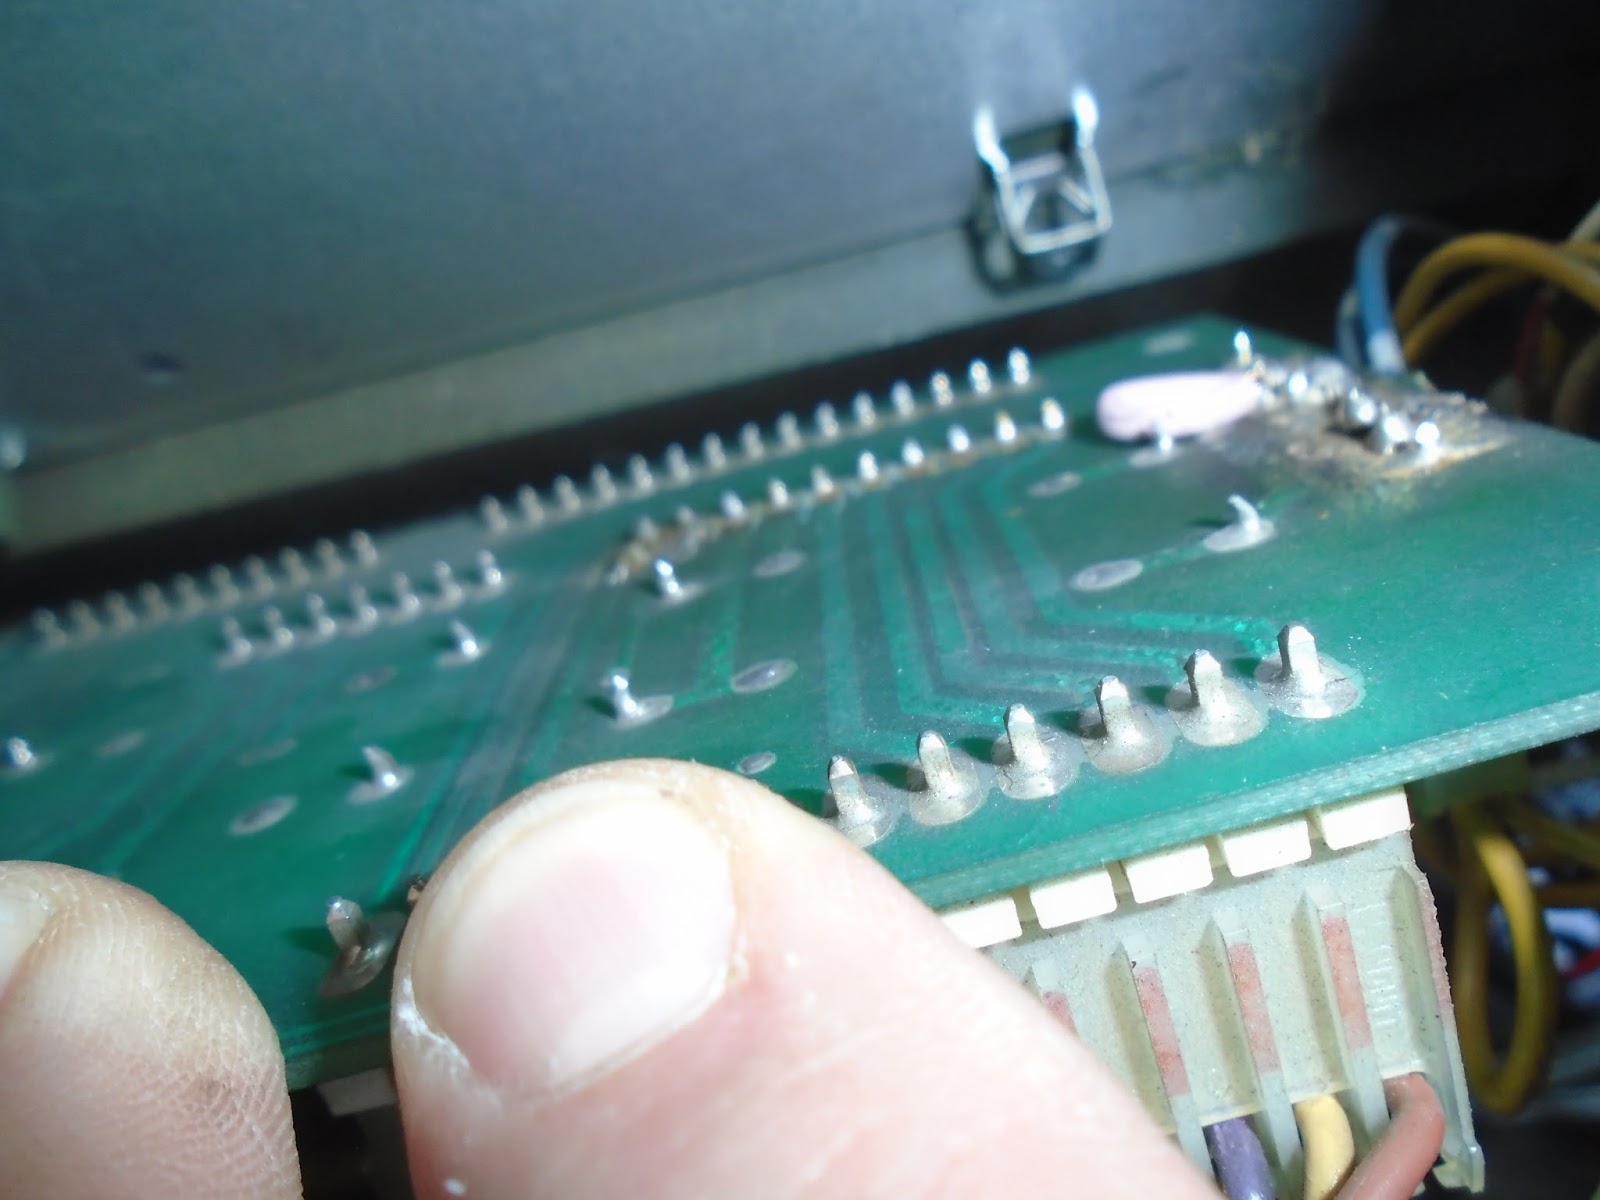
I installed a remote battery pack to eliminate the chance of board corrosion in the future. The board didn't show any sign of corrosion even though it was stored for quite some time. Perhaps the batteries were removed.
Here is the board with the missing battery mount.
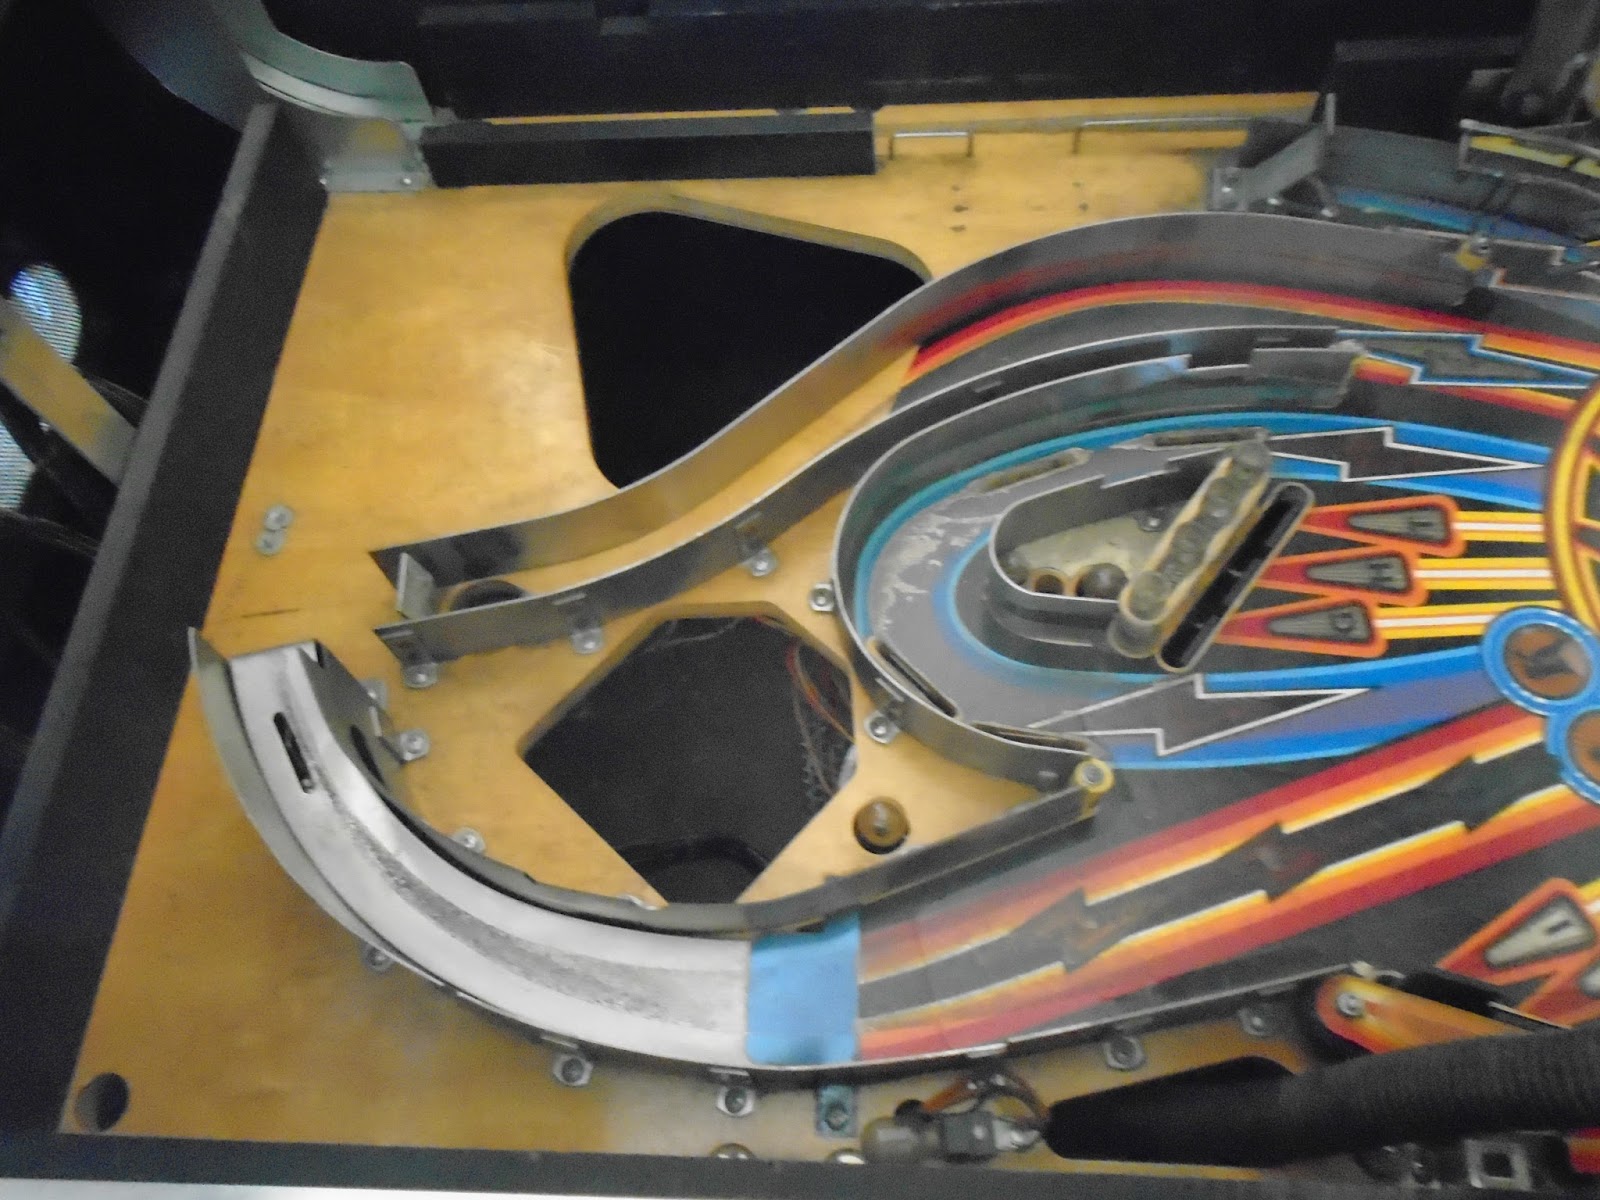
When I started to disassemble the playfield for cleaning, I found that many of the post bolts had been glued with locktite or a similar product. Some broke loose and others broke. What a pain!
When I tried to break the locks, some of the lock washers under the playfield just spun. this created posts that were too loose to leave alone. I had to cut the protruding bolt ends and then drill out the lock nuts. This left some small abrasions underneath the playfield unfortunately, but all worked out in the end (several hours and new parts later).
Above you can see the repaired slingshot coil link. The link is blue and is just above the yellow coil. The re-manufactured parts are thicker to avoid future breakage.
The upper playfield general illumination lights were intermittent. Further inspection found burned plugs and spotty patchwork done on the interconnect board. I connected two lugs that both came from the same wire and the lights started working. As soon as I moved the machine to take a video for this blog, the lights went out again. I jiggled the board and the came back on. A few minutes later they were off again for good. I worked on several on the connections checking for continuity. All of them showed continuity, but I assume some of them are just too weak to pass the 6V needed to power the lights. 6V comes to the board, but doesn't make it to the exit plug. The owner decided to hold off on either replacing the interconnect board or patching (hacking) the wires to make it work. If it gets repaired later, I'll post the pictures to this post.
Here I continue to disassemble the playfields and clean and polish. I put two coats everywhere. I put a third coat of wax on the damaged section of the upper playfield.
Here I start disassembling the ramps on the upper playfield.
Here is everything off and the first coat of wax after it was cleaned. The screws holding the little habitral leading from the lower playfield were frozen with stripped heads. I decided cleaning around it would be best.
Here are some pictures of the dirt that accumulated under the slingshots.
All of these clear posts were incredibly grimy and probably should have been replaced. We cleaned them with alcohol and cotton swabs trying to get most of it off.
These bolts were locked with Locktite, but came free and were easily replaced.
Wax on the lower playfield and the third coat on the upper playfield in the damaged sections.
Reassembled and looking beautiful. With some adjustments, the flippers are more powerful, the ball rolls smoothly, the pop bumpers and slings are hot again. The microswitches are correctly signaling again. The flasher bulbs (#89) make a huge difference.
Here you can see the new replacement cards.
Backglass is all cleaned up and ready to shine.
Black Knight 2000 is a great playing game. Watch the videos to see some examples of gameplay. Definitely a game to watch for to add to the collection.
This machine is pretty fun. There are two main objectives. Roll over all of the numbers 1-9 to score double bonus then triple bonus. Light all of the face cards to get double bonus and extra ball. There are many stand up targets on the playfield to advance the bonus. There are three flippers on the bottom, two left and one right. There is a space between the left flippers where you can lose the ball. There is also an upper right flipper which helps players hit the face card stand up targets on the left. Gameplay can be very fast.
This is a 1971 Gottlieb Rollercoaster Pinball Machine. It is the first machine to have wireform ramps later known as habitrails. The machine's gameplay is highly influenced by the spinner in the center of the field. Points are scored when the spinner changes position and when the balls travel on the ramps and down the outlanes. Getting a replay score of 4300 can be easy if the arrow is on 500 or very difficult if it is on 50. There is a twist when playing two players as each player needs to start where the spinner ended for the other player. Advancing the spinner to 500 will be good for you, but can also benefit your competitor. Scoring all of the numbered lights turns 50 point scores into 500 points. This is a fun classic game that is pretty rare today.
This is a 1972 Electromechanical Williams Swinger Pinball machine. This machine was pretty unique to me. It features a "swinging" target in the center of the playfield. The lights in front of the target cycle throughout the game. There are two standup targets to the right and left that will lock the lights in place and light the "swinger" target. When you hit the moving target you will get the locked value, then the lights will begin to cycle again. There are two ways to save outlane drains. There is a kickback on the left that is lit by a standup target in the upper part of the playfield. There is a gate on the right that is lit by two different lights on the moving target. Without inlanes that feed to the flippers, the game is fast and constant action. The last feature which can save a drain is an "up-post" between the flippers. This is activated by rollover buttons on the playfield. The up and down buttons are easy to hit which causes the post to appear and disappear regularly throughout the game. This is a fun game loaded with features.
****Update**** I am planning to slightly retheme and repackage this machine. I have sold the cabinet and am in the process of building a new cabinet and will re do the artwork on the machine. 11/18
This is a Sharp Shooter II Pinball Machine from Game Plan. It was built in 1983 and was a sequel to the 1979 Sharp Shooter. The playfield is the same, but the artwork is different. There were only 600 of this machine produced. The game was designed by Roger Sharpe. My favorite design of this game is the two pop bumpers at the bottom of the playfield replacing one of the traditional slingshots. It gives a tremendous feeling of unpredictability to the bottom of the machine. There are many hard shots on this machine. They include the "star" lane shot which scores 50,000 points, the bumper light targets behind the left most pop bumper at the top of the field, the kick out hole and horseshoe, and the spinner lane. This variety always keeps me coming back for one more game. Hard to master, fun to play. A perfect game to own.


 Before (top) and After Cleaning (bottom)