Thursday, November 21, 2019
Friday, July 19, 2019
1983 Williams Time Fantasy Restoration/Rebuild Part 1
1983 Williams Time Fantasy Restoration/Rebuild Part 1
I found a Time Fantasy playfield on the internet and purchased it in order to restore/build a Time Fantasy machine from just a semi populated playfield. Seems like an ambitious project, I know. I'm not sure which directions I am going to take presently. I have several scenarios in my head. The possibility that I started with was to repopulate and rewire the playfield so I could swap it in and out of my Firepower machine. I have semi-limited space for machines, so this would increase my number of playable machines without increasing their footprint in my house.
Here is what I started with:


 There is extensive damage and lots of parts are missing. Most likely, this playfield was used to get another machine working and then set aside and forgotten. It was originally purchased with a group of populated playfields, so it was probably backstock for a dealer or repair service.
You will notice there is lots of paint missing and only two plastics are present and intact. The pop caps are gone as are many of the posts and screws. The flippers are gone, three stand up targets are gone, the roll over guides are gone, and a pop bumper body is gone.
 Here we can see the switch stacks for the pop bumpers, but no assemblies. They have been cut out.
 Here is a complete bank of missing lights.
 The flipper coils are present, but not the flipper assemblies.
 Here are the missing stand up targets from underneath.
 Many of the inserts were lifted and needed to be reheated and reset.


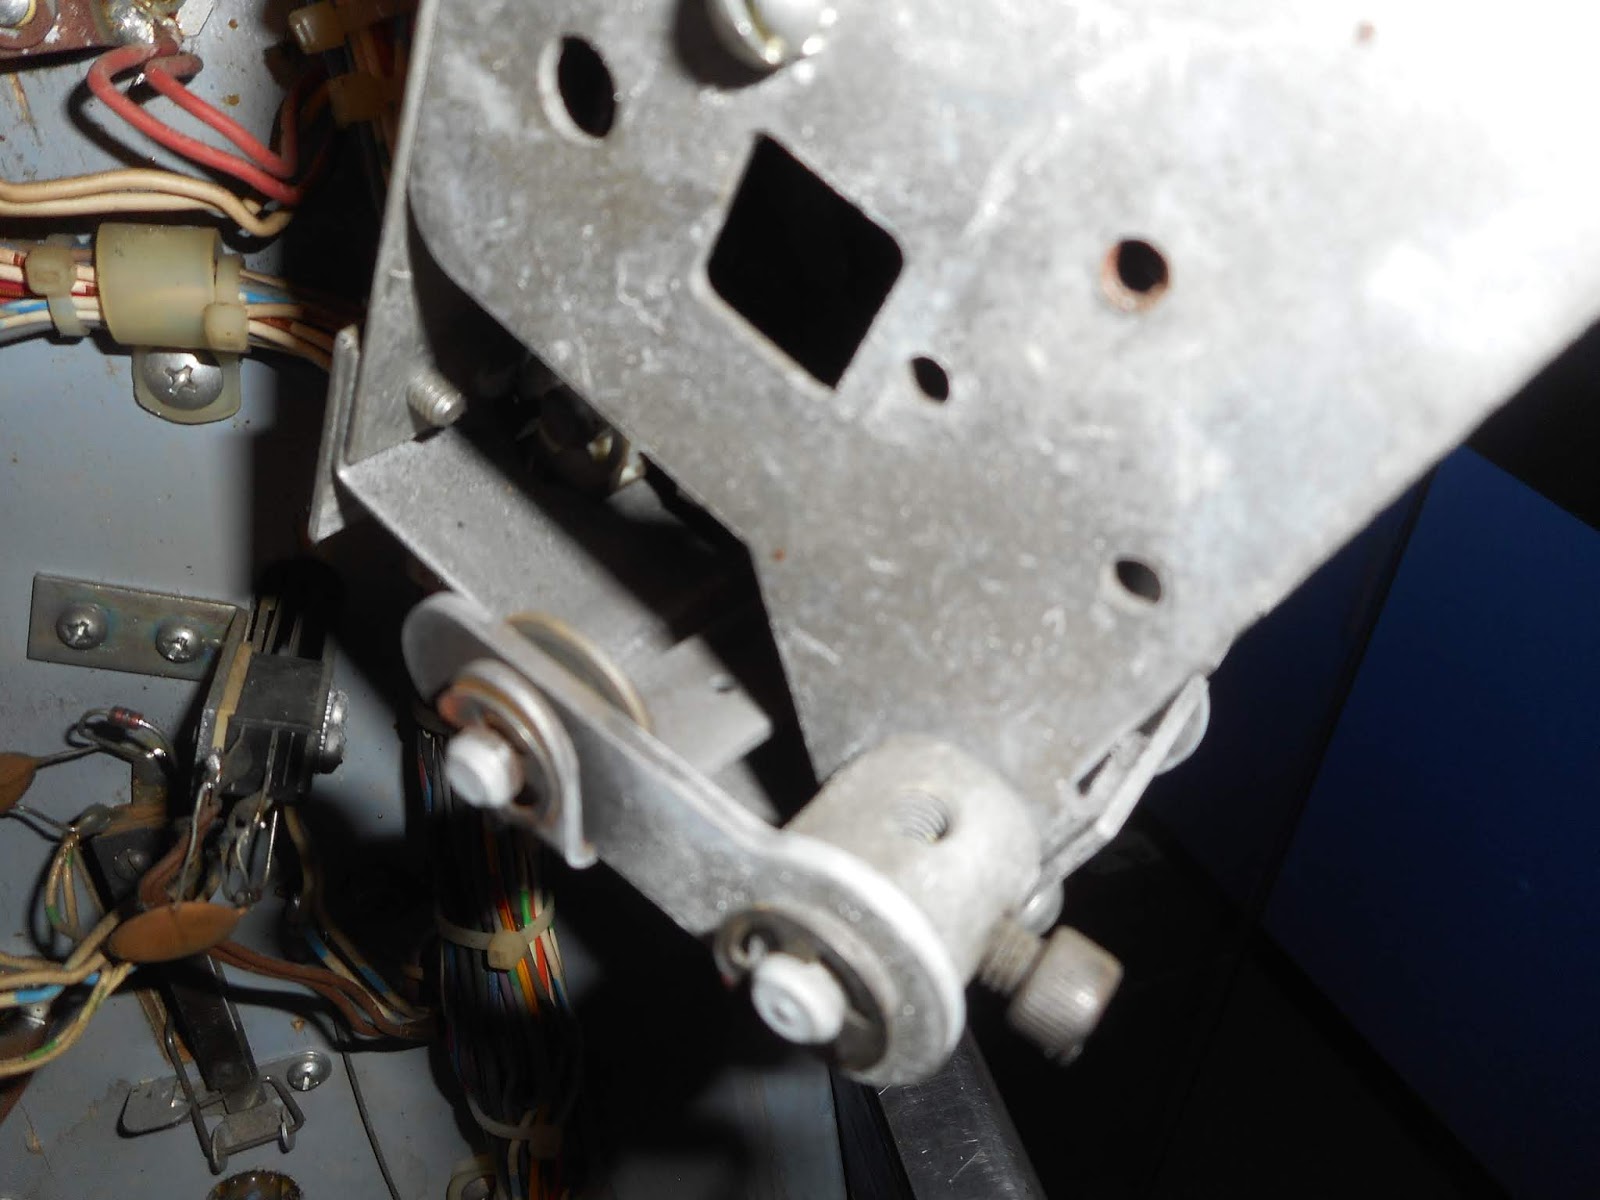
 Other parts like this wire guide were rusty, but at least present.
 The wire harnesses were also cut, so the first step was to find wire that matched as closely as possible and tie it on.
 I needed long lengths (about 3-4 feet) to be able to stretch to the connectors inside the backbox.

 Here I have started to solder on the new wires and cover them with heat shrink tubing.


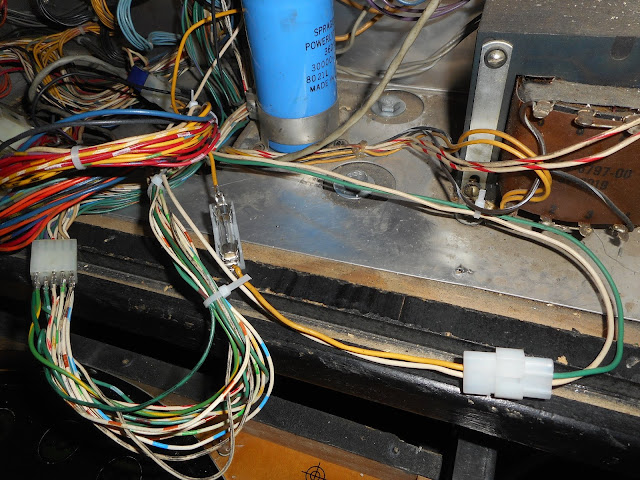
Finished and bundled.
 I used zip ties to keep the wire bundles neat.

 I pinned the new molex connectors to match Firepower's connectors. I used the wiring diagrams and matrix included in the manuals to match each feature to the pin on the board.
Here you can see i was missing a male molex connector. I was too impatient to wait for a new one to arrive, so i plugged each wire in individually to test the playfield.
There was an extra GI circuit, so I needed to add a fused line to accept the extra wires. I wired the other end into the GI junction in the backbox.
Next.....Cleaning and populating the playfield.
I found a Time Fantasy playfield on the internet and purchased it in order to restore/build a Time Fantasy machine from just a semi populated playfield. Seems like an ambitious project, I know. I'm not sure which directions I am going to take presently. I have several scenarios in my head. The possibility that I started with was to repopulate and rewire the playfield so I could swap it in and out of my Firepower machine. I have semi-limited space for machines, so this would increase my number of playable machines without increasing their footprint in my house.
Here is what I started with:


You will notice there is lots of paint missing and only two plastics are present and intact. The pop caps are gone as are many of the posts and screws. The flippers are gone, three stand up targets are gone, the roll over guides are gone, and a pop bumper body is gone.


Finished and bundled.


Here you can see i was missing a male molex connector. I was too impatient to wait for a new one to arrive, so i plugged each wire in individually to test the playfield.

Next.....Cleaning and populating the playfield.
Wednesday, June 26, 2019
1980 Stern Flight 2000 Pinball Machine - Here is a First! "I Give Up!"
Here are the pictures I was sent by the seller. I didn't see anything that was too concerning for me. What do you see?


Here are my pics of the playfield when it arrived.


The lock down bar receiver cleaned up well.


Subscribe to:
Posts (Atom)